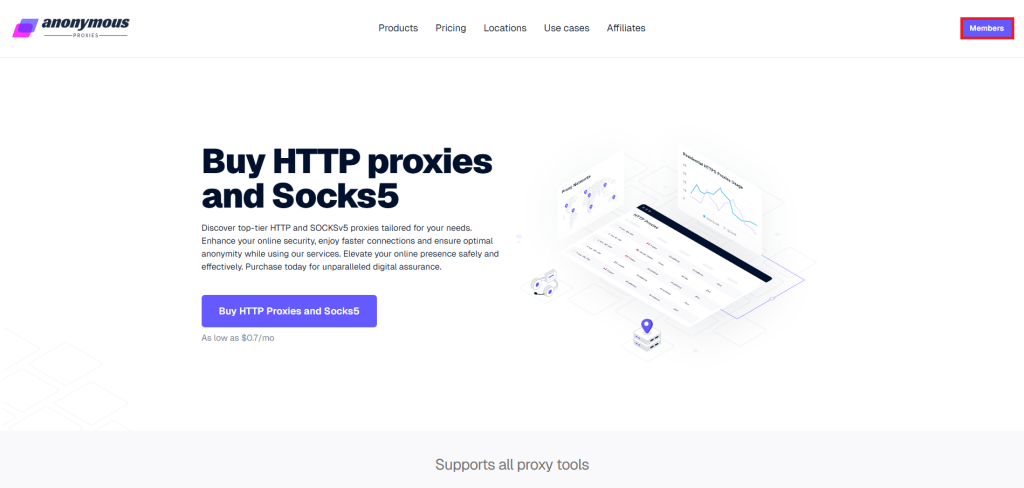
Step 1: Go To Anonymous Proxies Dashboard
Open the " Members" area from the main site to access your account panel.
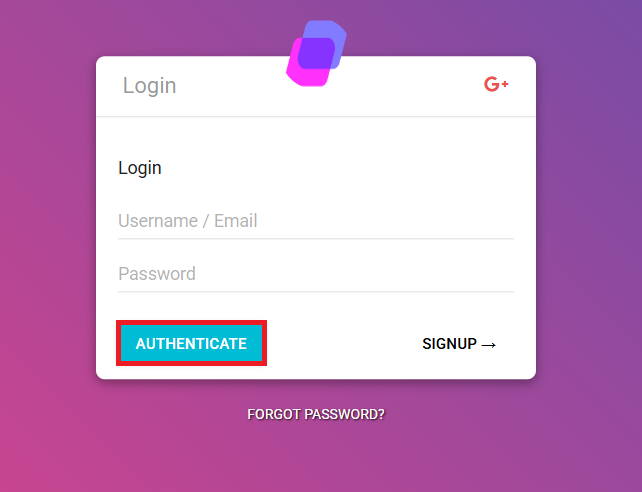
Step 2: Log In To The Anonymous Proxies Members Area
You'll need to enter your username and password, then click "Authenticate".
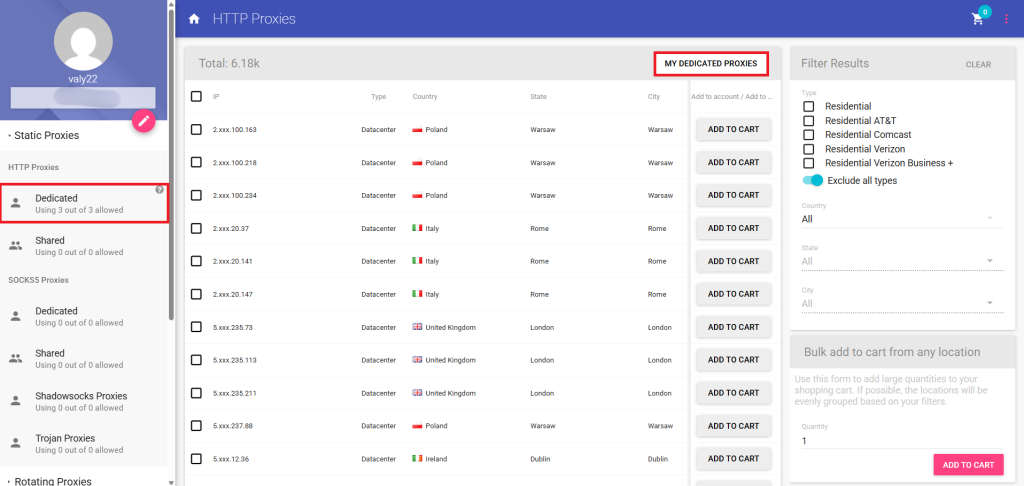
Step 3: Open Your Proxies List
When you are in the dashboard, go to "My Dedicated Proxies" to see the IPs available in your plan.
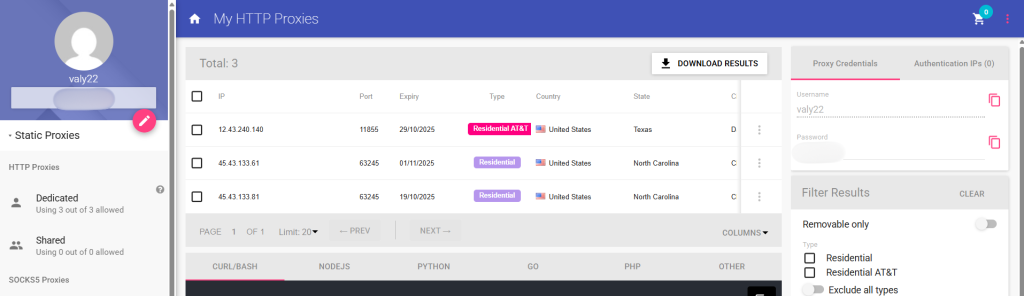
Step 4: View Proxy Details
On this page, you will be able to see all the details you need for the Xlogin broswer profile, for example, the proxy's IP address, port, username, and password. If you don't want to use authentication, you can even whitelist your IP directly from the dashboard by clicking on "Authentication IPs" and choosing your own IP.
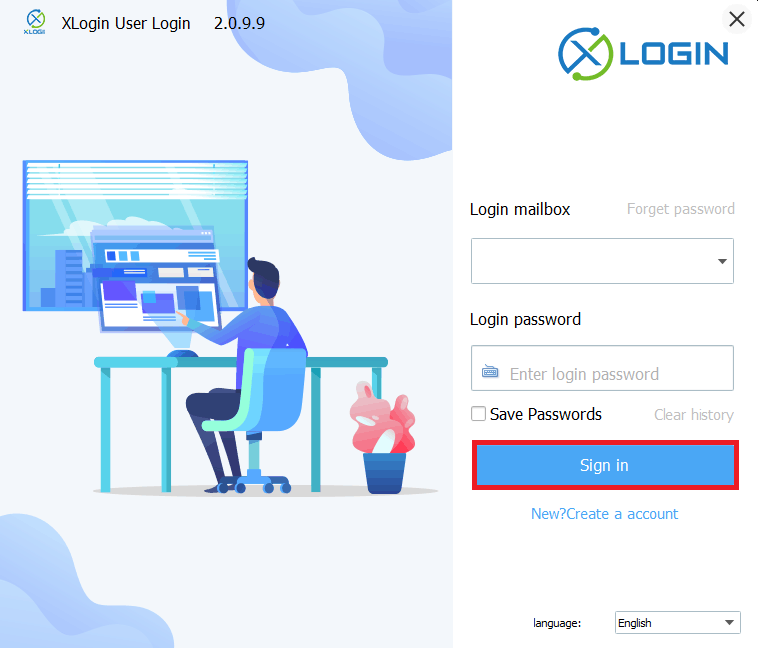
Step 5: Sign In To Xlogin
Once you have all the credentials ready, you can launch the XLogin application on your device and sign in with your Xlogin credentials. If you don't have an account, try to create one right now, it takes you only one minute.
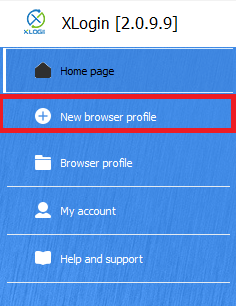
Step 6: Create A New Browser Profile
After you log in, you'll need to click "New Browser Profile". (Support Free Trial)
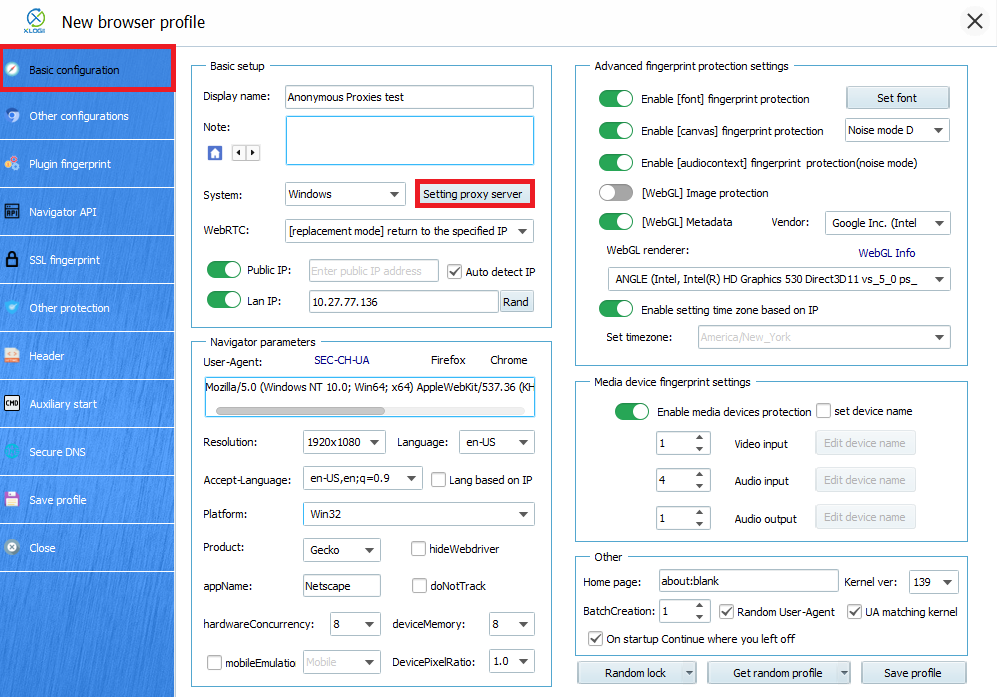
Step 7: Open Proxy Settings
In the profile window, you can give your profile a clear name that matches your use case and then click on "Setting Proxy Server" to open the Proxy Settings for this profile.
Step 8: Enter Proxy Details
When the window of proxy settings appears, you'll need to toggle "Enable Proxy Server" firstly. Then, you can choose what proxy type you are going to use, for this example we will select HTTP, but if you have a SOCKS5 proxy, then you'll need to select that one. All what remains to do right now, is to enter your proxy credentials. Once you entered your proxy credentials, click on the "Test Proxy" button.
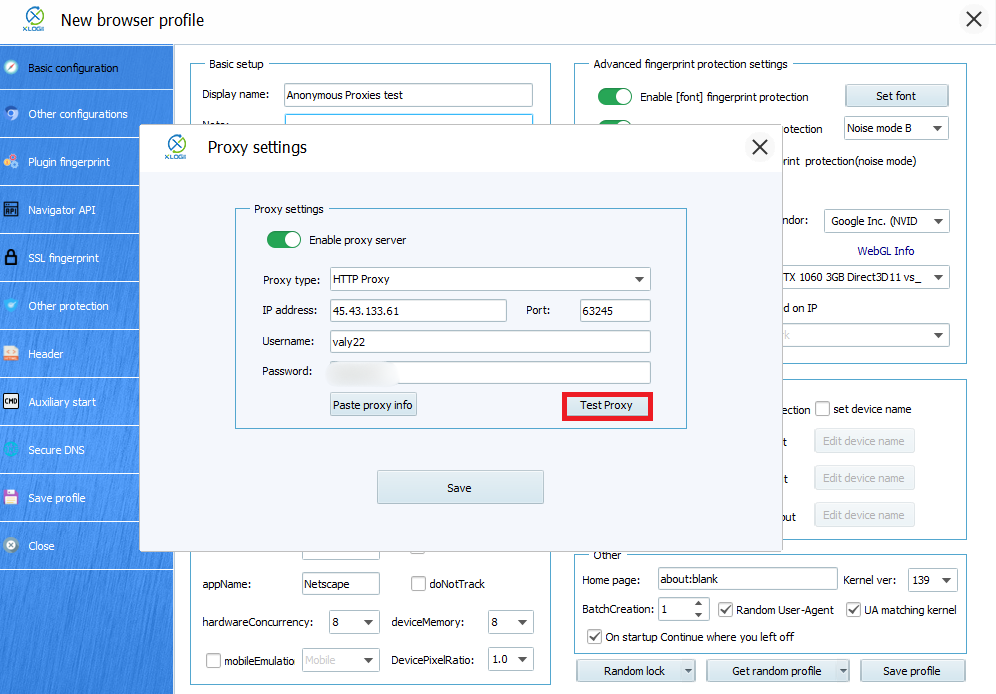
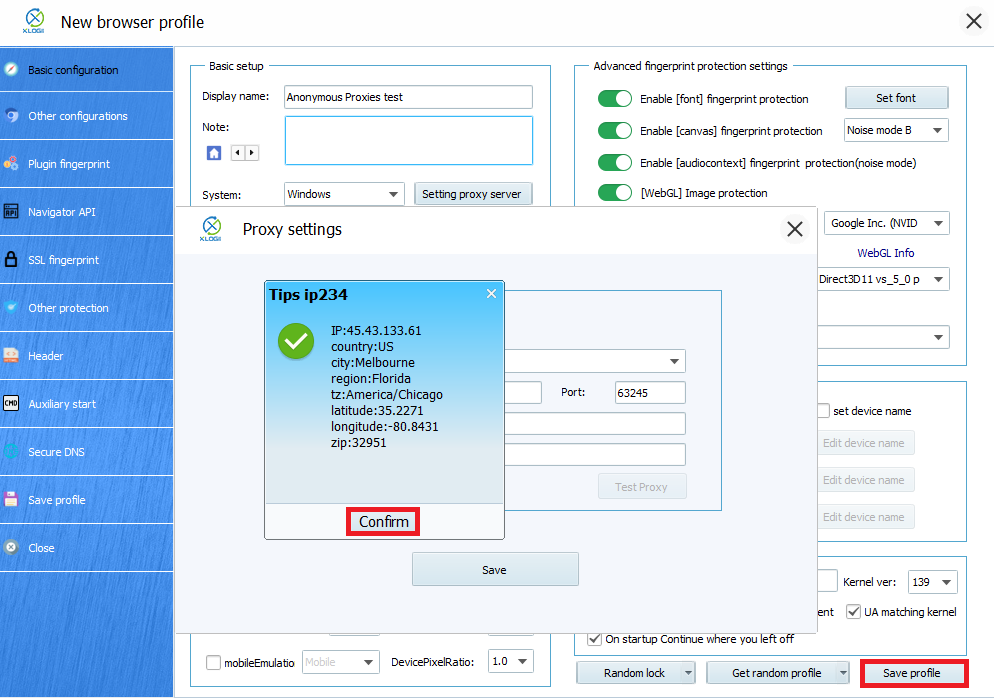
Step 9: Test The Connection and Save The Profile
After you clicked on the "Test Proxy" button, a success message should show your proxy's country and city. Once you see that the connection is successfull click on "Confirm", then hit the "Save" button in the Proxy Settings window, and then "Save Profile".
That's it! All traffic from this profile now routes through your purchased proxy while Xlogin maintains the fingerprint you configured.
Note: XLogin browser does not provide built-in proxy IP services. Users must purchase proxies from third-party providers. Proxy setup tutorials are offered by these third parties and are not affiliated with XLogin. Any illegal or criminal activity conducted through XLogin is strictly prohibited, and users bear full responsibility for any consequences.