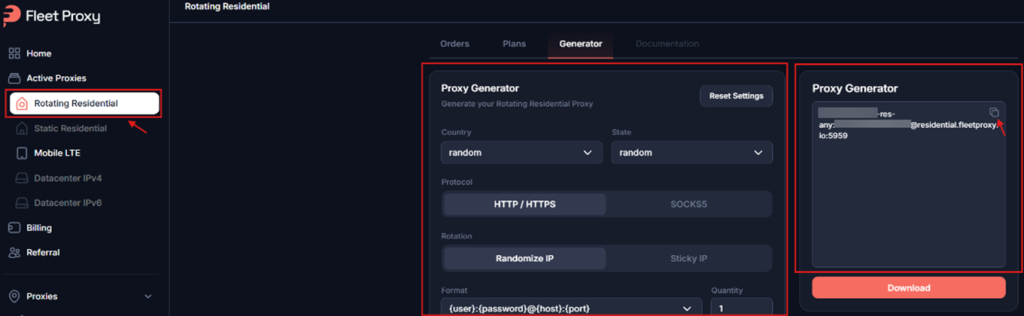
Step 1: Log in to your Fleetproxy dashboard and navigate to Rotating Residential from the sidebar. Under the Generator tab, choose your preferred:
- Country and State
- Protocol (HTTP / HTTPS or SOCKS5)
- Rotation type (Randomize IP or Sticky IP)
Once done, the complete proxy string will appear in the right-hand box; click the copy icon to copy it. Click the copy icon to copy the full proxy string.
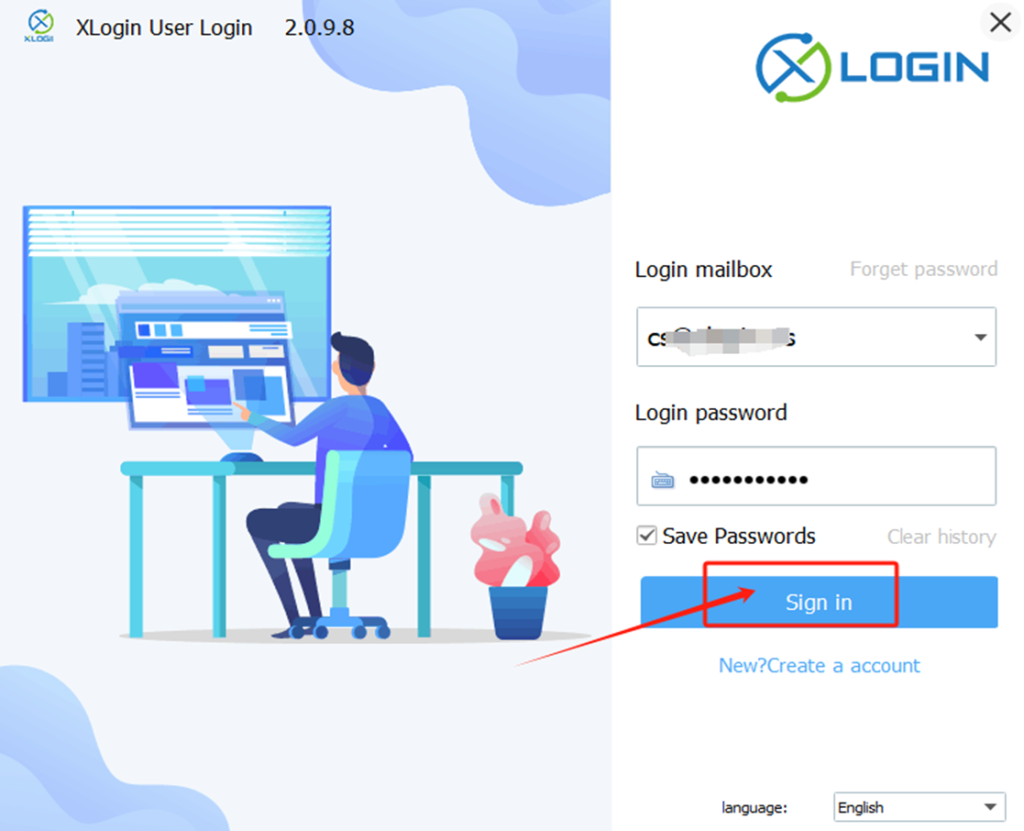
Now, let’s return to XLogin and paste the credentials.
Step 2: Set Up Your XLogin Browser Profile
- Register and Download to the XLogin. (Supprot Free Trial)

- Launch the XLogin client and Login.
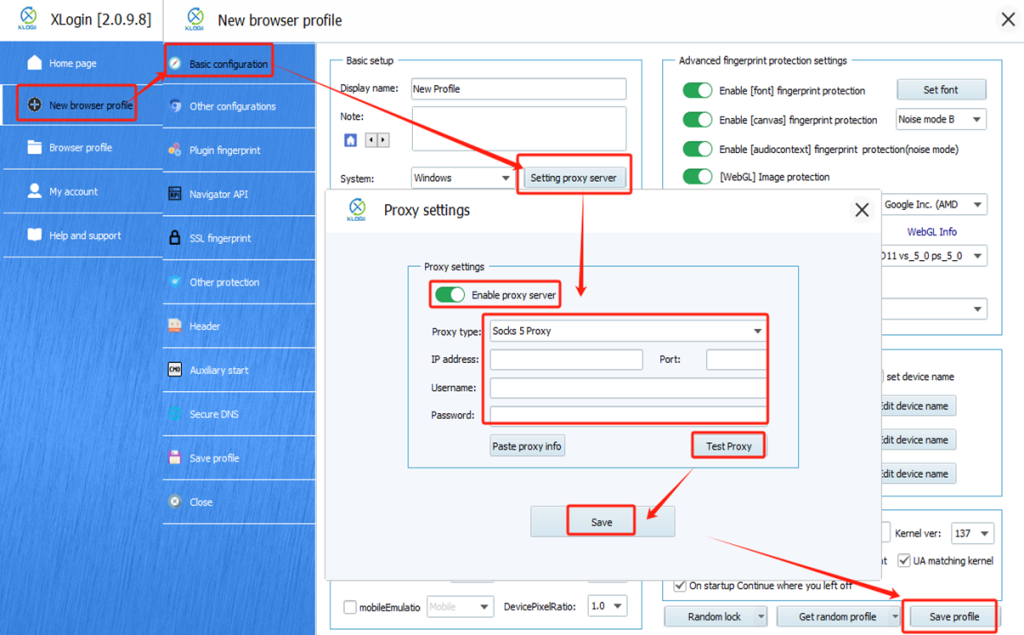
Step 3: Click “New browser profile” to create the profile.
1. Fill in a display name and configure the browser fingerprint settings.
2. Navigate to the “Setting proxy server” section within the profile.
3. Enable proxy server.
4. Paste the IP:Port:Username:Password or enter the Fleetproxy information:
(1) Choose the correct proxy type (e.g., HTTP, SOCKS5).
(2) Enter the IP address and port.
(3) Enter the username and password if required.
(4) Click “Test Proxy” to ensure the connection works.
(5) Save the proxy settings, then save the profile.
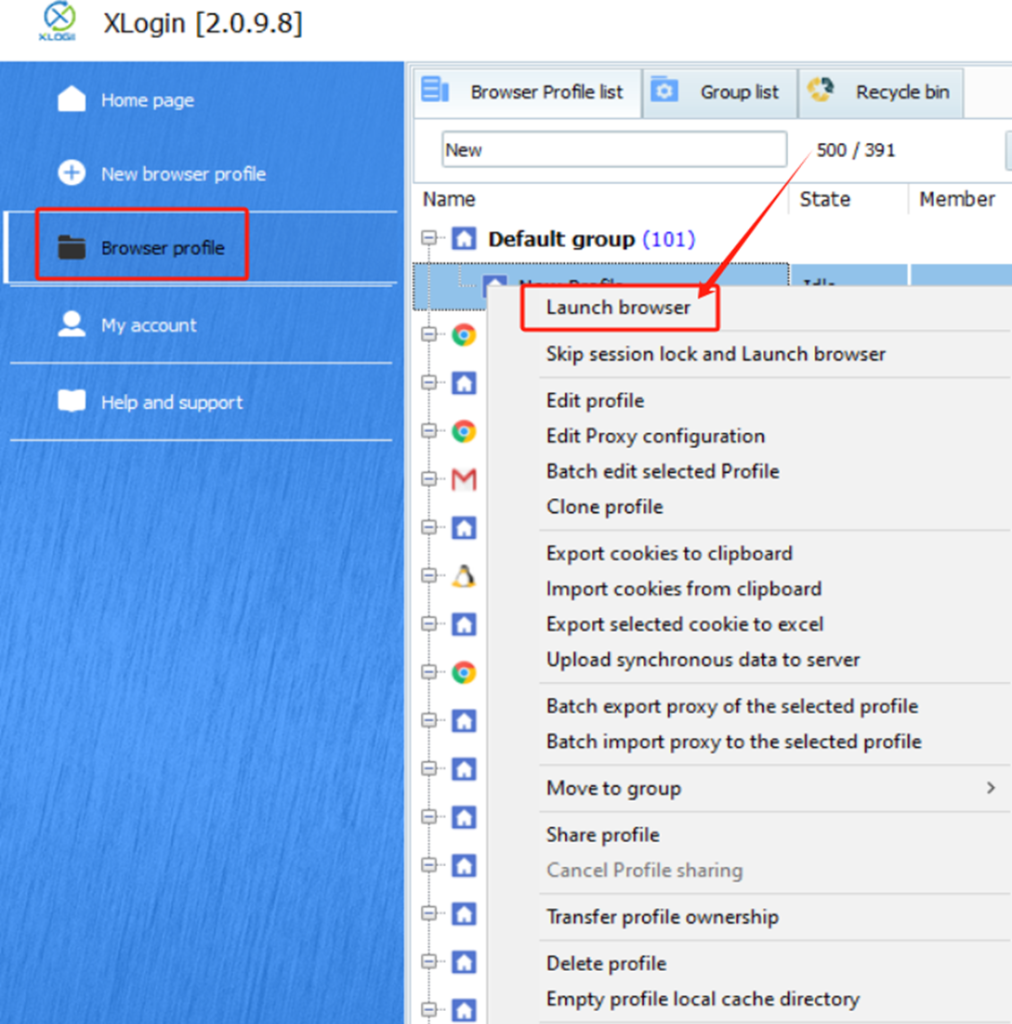
Step 4: Lauch the profile.
Note: XLogin browser has no proxy IP service, users need to purchase proxy IP from a third party. Third-party platforms provide proxy-related tutorials and are not related to the XLogin. Users are strictly prohibited from using XLogin to engage in any illegal and criminal activities, and users are responsible for the relevant responsibilities caused by using XLogin.