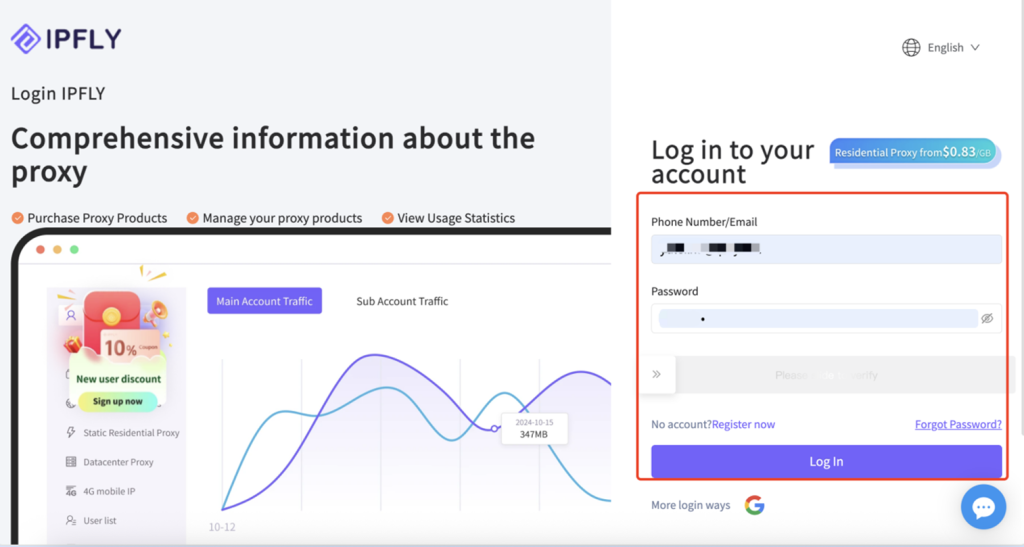
Step 1: Visit IPFLY‘s official website to register an account.
Exclusive 20% discount code for XLogin users: 【IP6688】
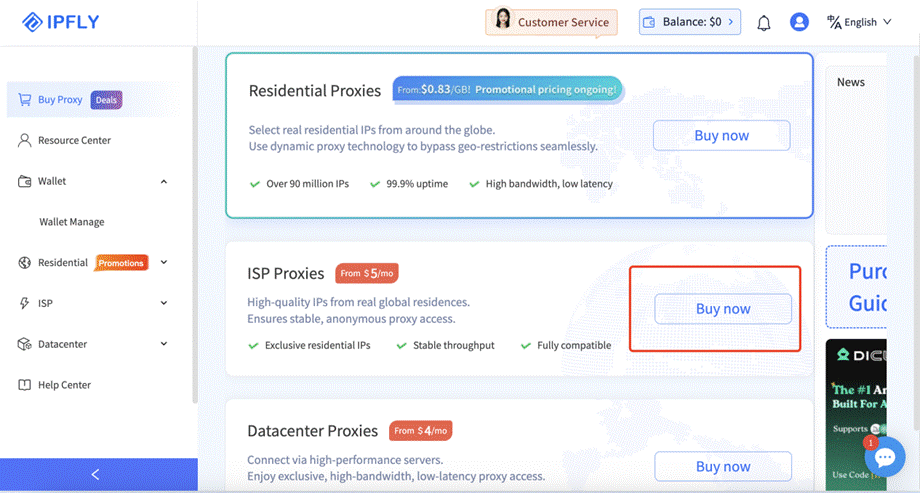
Step 2: Click “Buy Proxy” in the left menu bar, then select the proxy type you need.
For example, to purchase a Static Residential (ISP) Proxy, click “Buy Now” Beside Static Residential (ISP) Proxy.
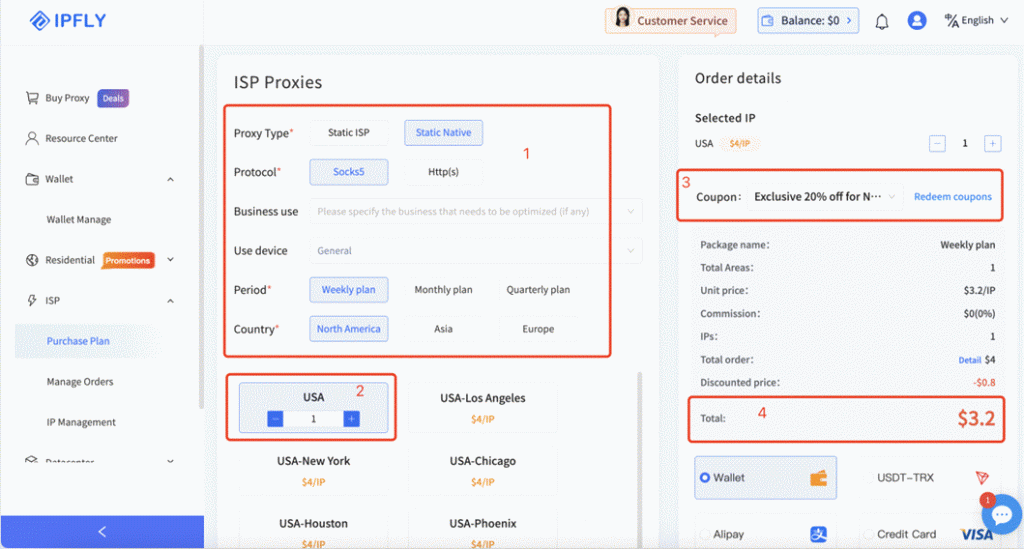
Step 3: Fill in the "Proxy Settings" information, then select the country you need.
Step 4: After successful payment, click “IP Management” in the left menu bar to find your proxy host, port, username, and password.

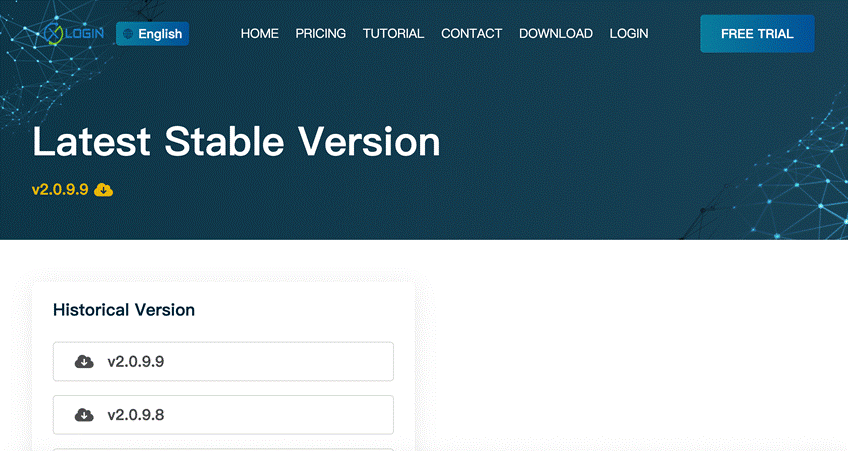
Step 5: Visit XLogin‘s official website to download the client. (Support a 3-day Free Trial)
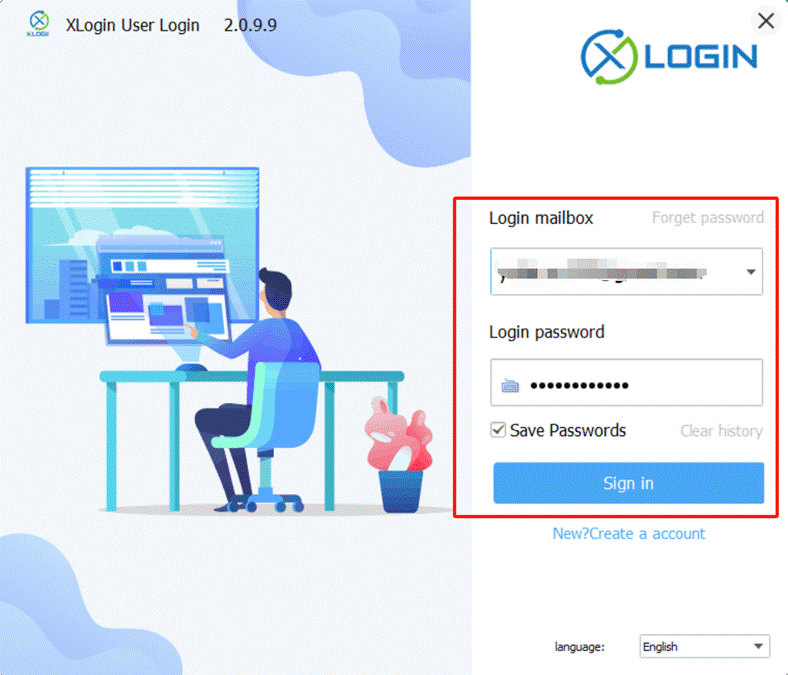
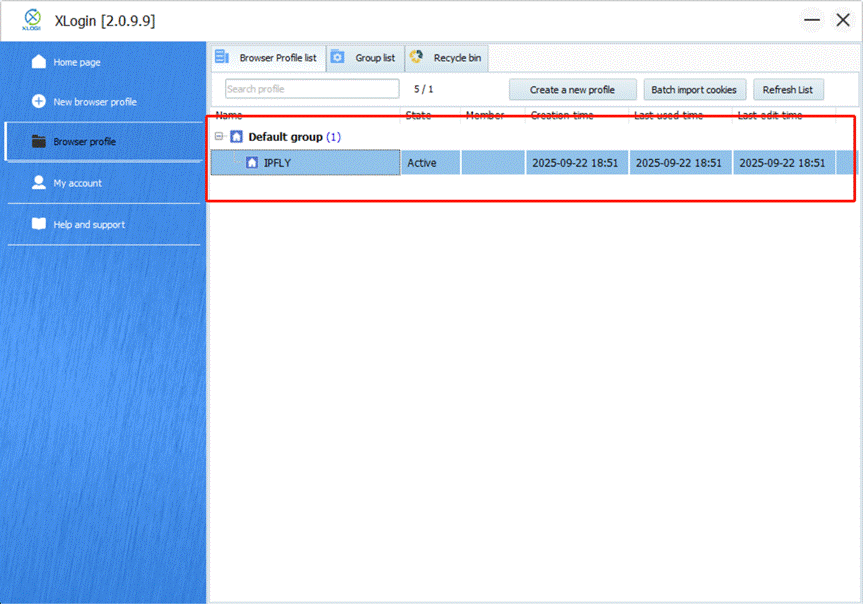
Step 6: Install the client, register and log in to your XLogin account.
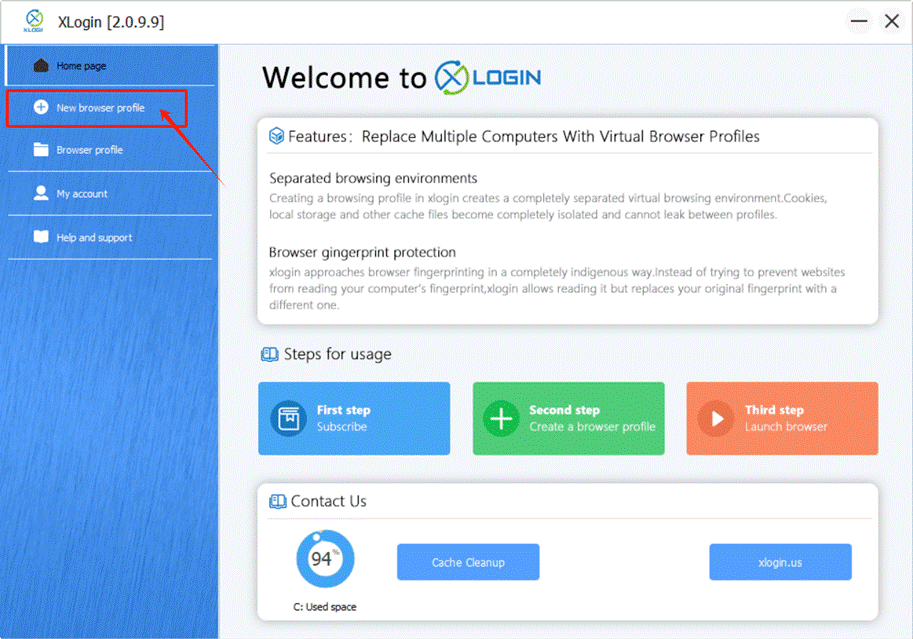
Step 7: Click "New browser profile" to set up a new environment.
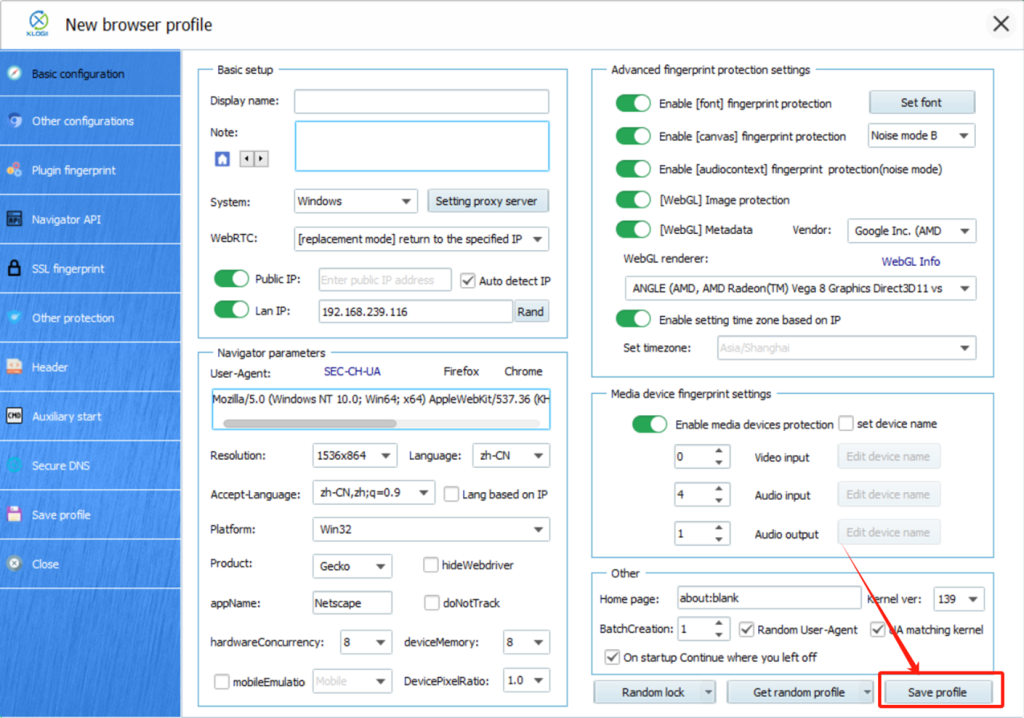
Step 8: Fill in the basic information as required, then click “Setting proxy server”.

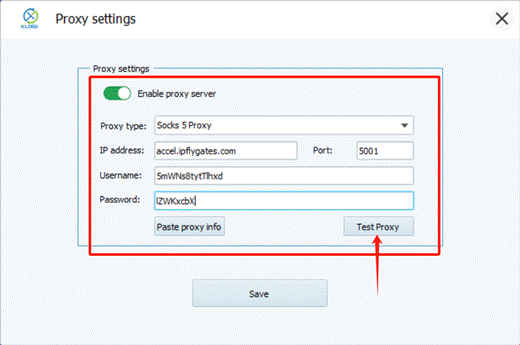
Step 9: Click "Enable proxy server" and enter the IPFLY proxy host, port, username, and password. Then click “Test Proxy.” After the test completes, click “Confirm.”

Step 10: Finally, click “Save profile” to complete the process.
This completes the proxy configuration of IPFLY in XLogin.
(Note: The above steps need to be performed on an overseas network.)
Click the link on the right to register:
IPFLY:https://www.ipfly.net/
XLogin:https://xlogin.us/
Note: XLogin browser does not provide built-in proxy IP services. Users must purchase proxies from third-party providers. Proxy setup tutorials are offered by these third parties and are not affiliated with XLogin. Any illegal or criminal activity conducted through XLogin is strictly prohibited, and users bear full responsibility for any consequences.