Step 1 – Get Your Proxy Credentials
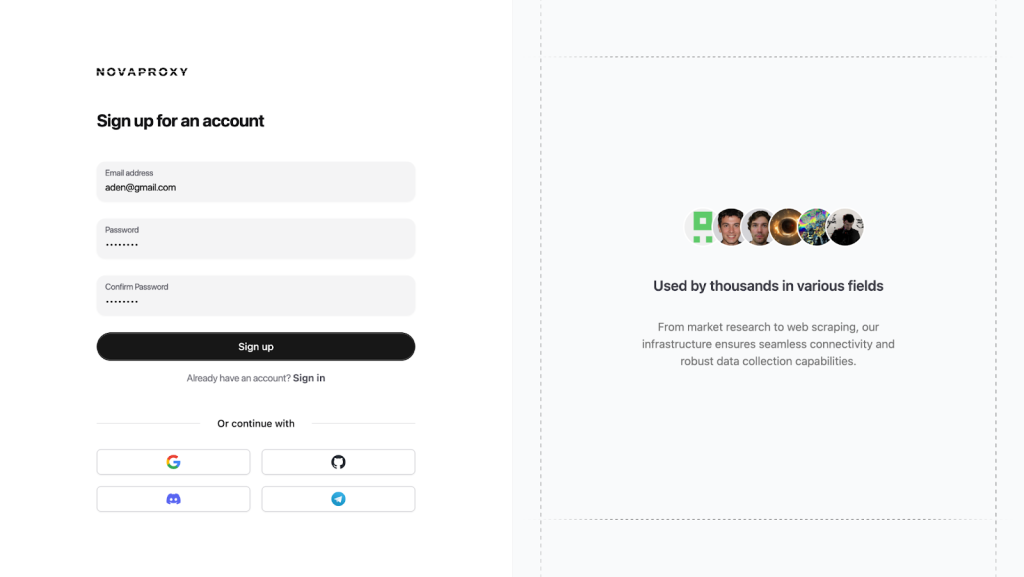
1. Navigate to NovaProxy website.

2. Create your account.
3. Deposit money into your account balance.
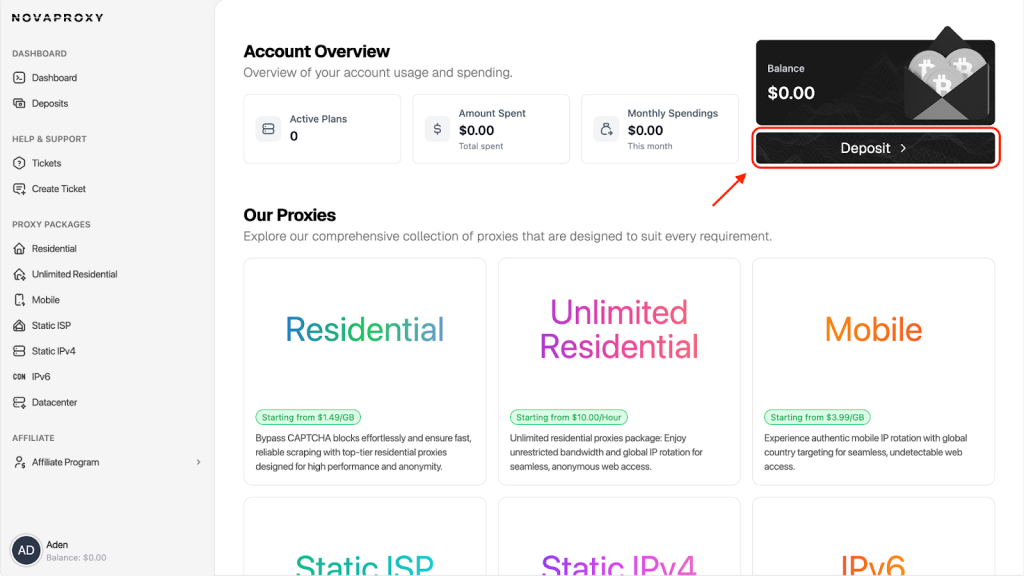
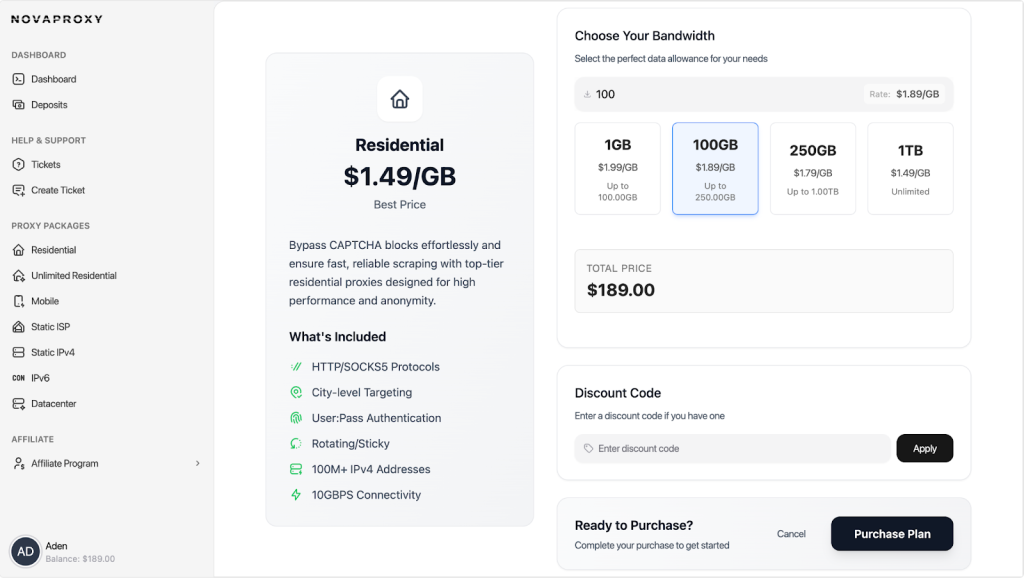
4. Purchase your desired package.
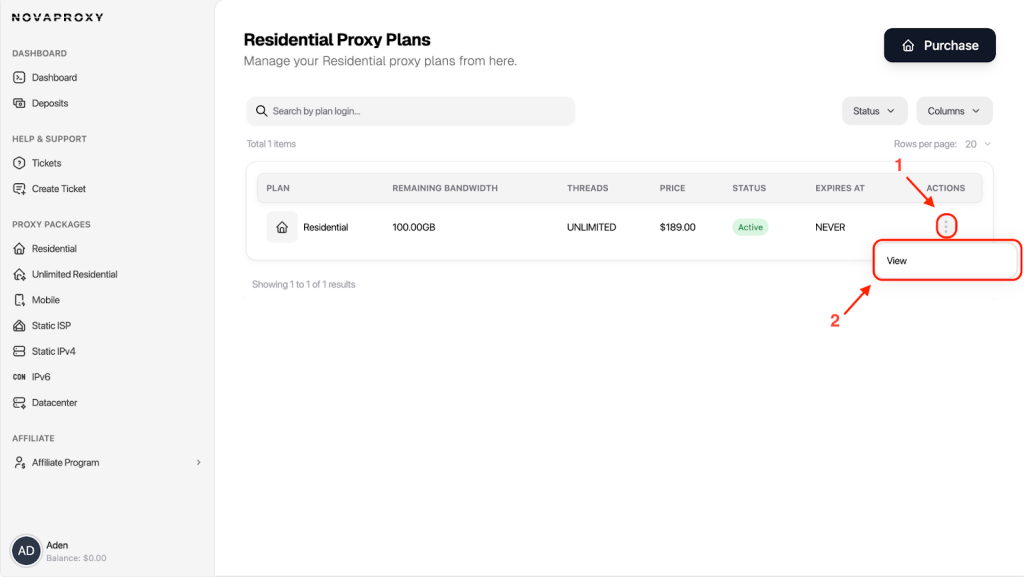
5. Navigate to your plans page and select the package you purchased.
6. Configure the desired GEO location and sticky/rotation option for your use-case. In this example we’re operating with Residential Proxies. In other packages like Static ISP or Static IPV4(Datacenter) the location is chosen prior to the proxy purchase.
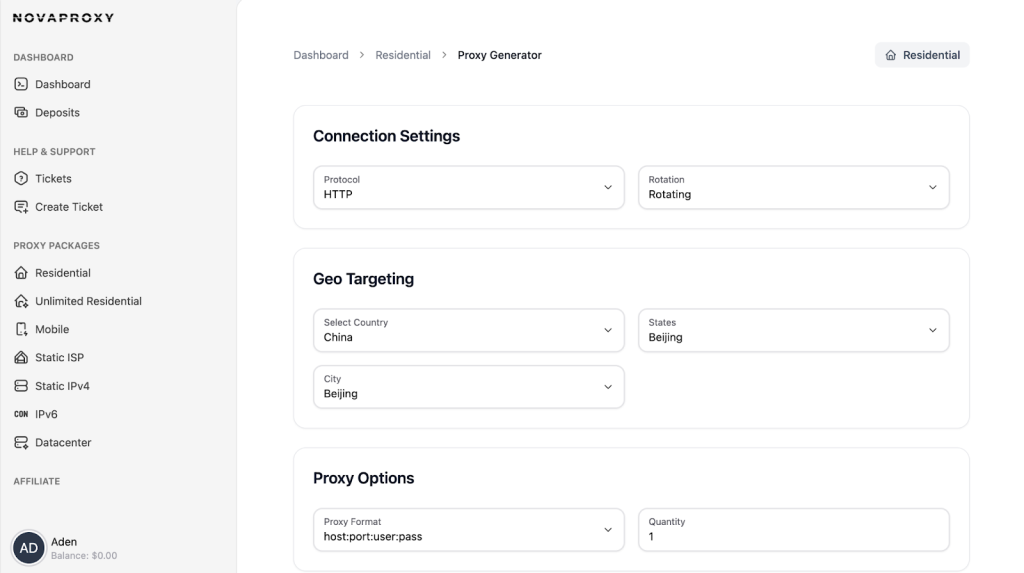
7. Generate the proxy and incorporate it in XLogin settings.

Step 2 – Set Up Your XLogin Browser Profile
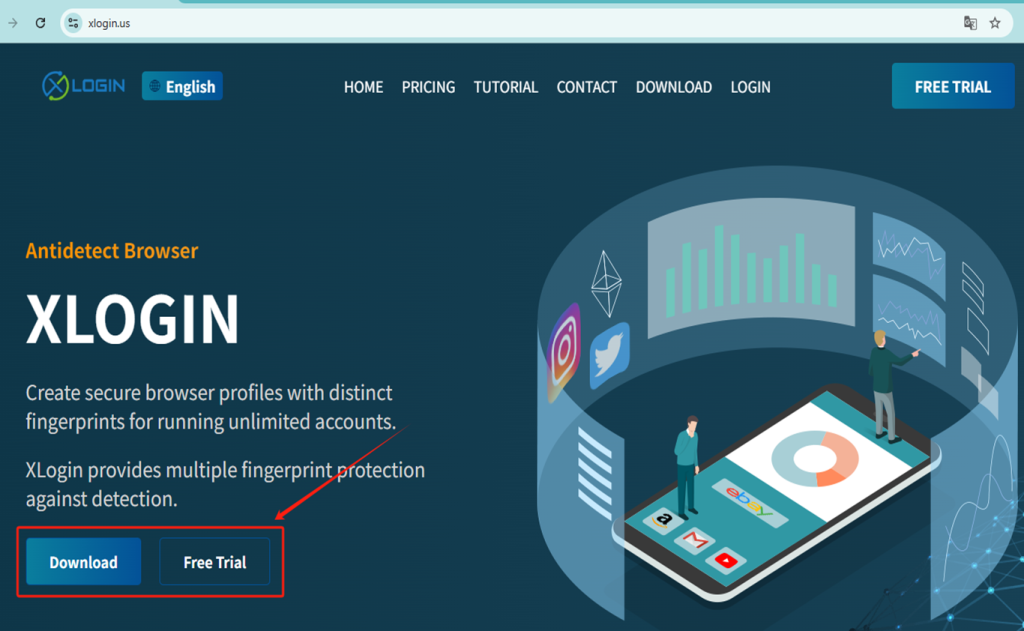
1. Register and Download to the XLogin. (3-day Free Trial)
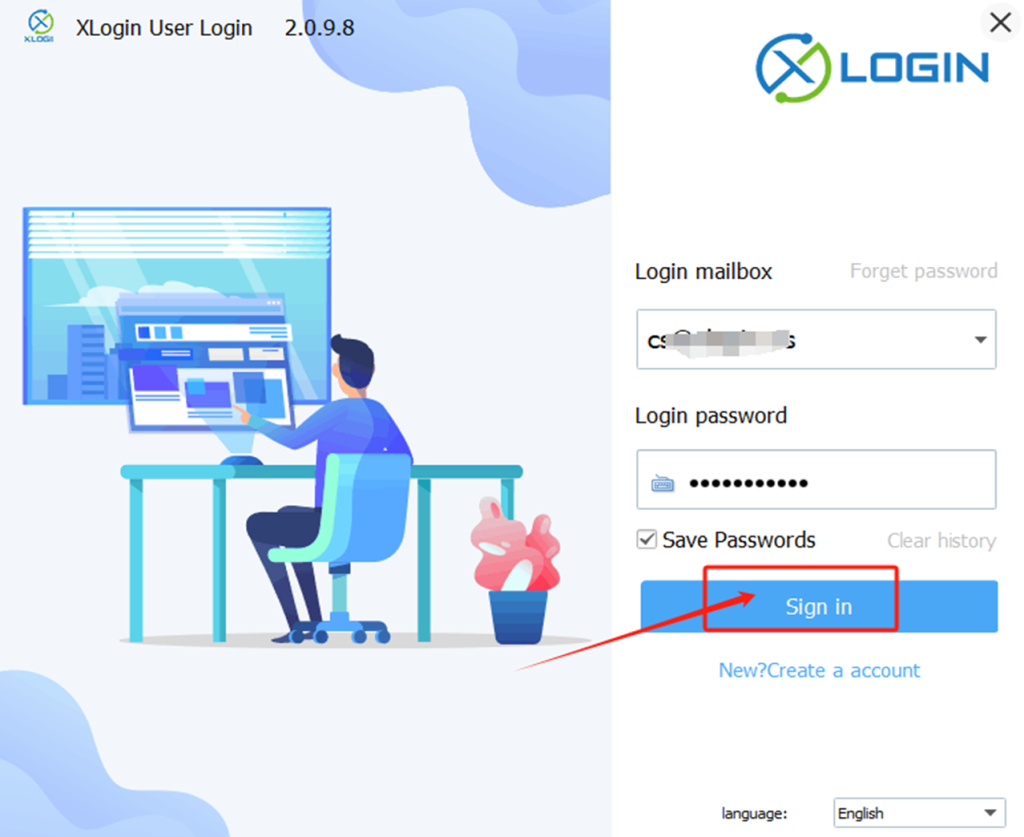
2. Launch the XLogin client and Login.
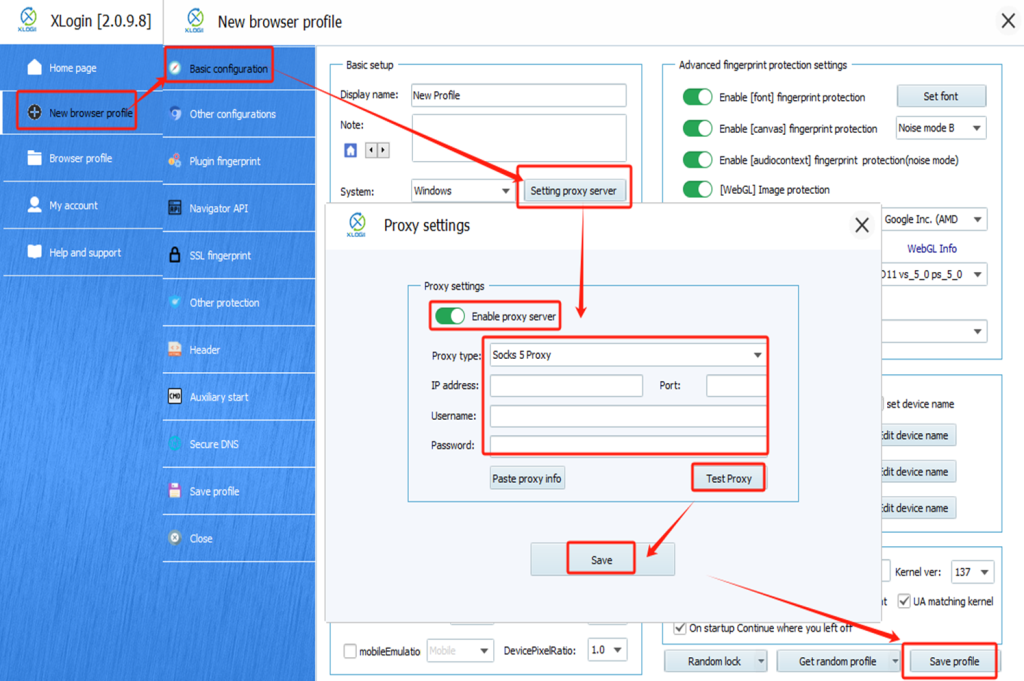
3. Click “New browser profile” to create the profile.
(1) Fill in a display name and configure the browser fingerprint settings.
(2) Click “Setting proxy server” and enable it.
(3) Copy the NovaProxy information (IP:Port:Username:Password) and click "Paste proxy info" to paste it.
(4) Click “Test Proxy” to ensure the connection works.
(5) Save the proxy settings, then save the profile.
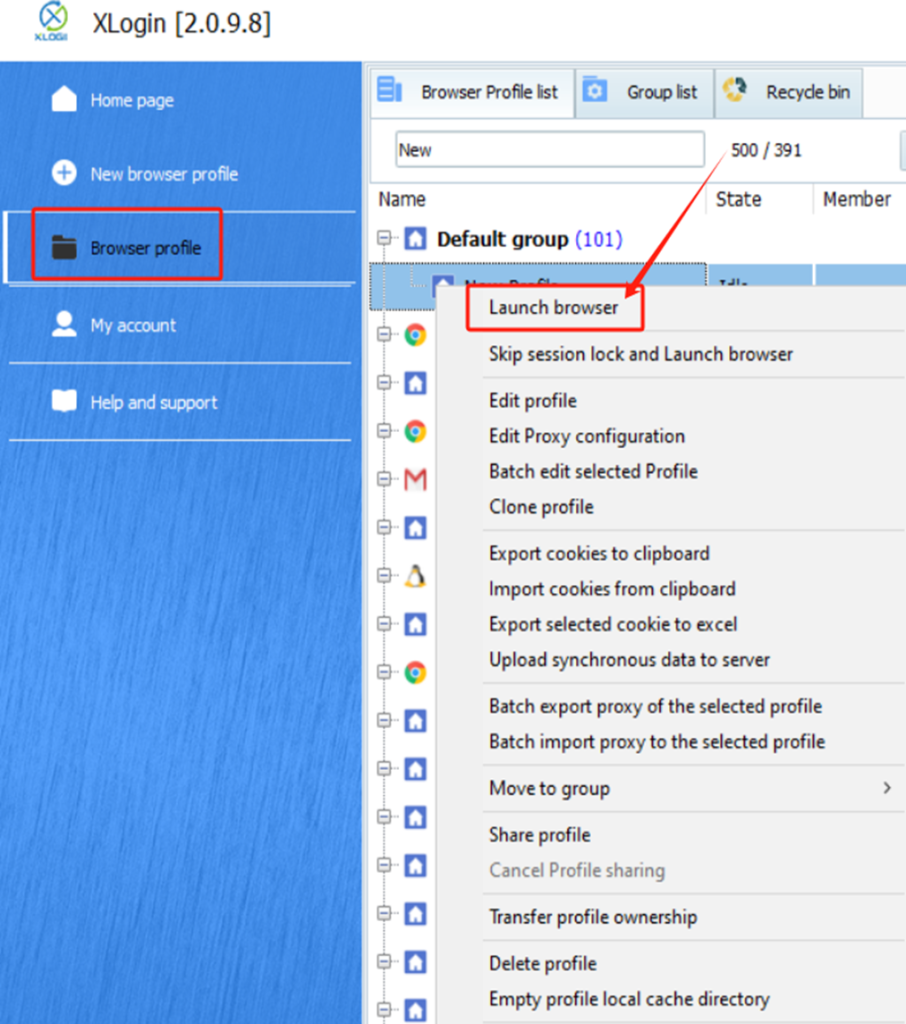
4. Lauch the profile.
Note: XLogin browser does not provide built-in proxy IP services. Users must purchase proxies from third-party providers. Proxy setup tutorials are offered by these third parties and are not affiliated with XLogin. Any illegal or criminal activity conducted through XLogin is strictly prohibited, and users bear full responsibility for any consequences.