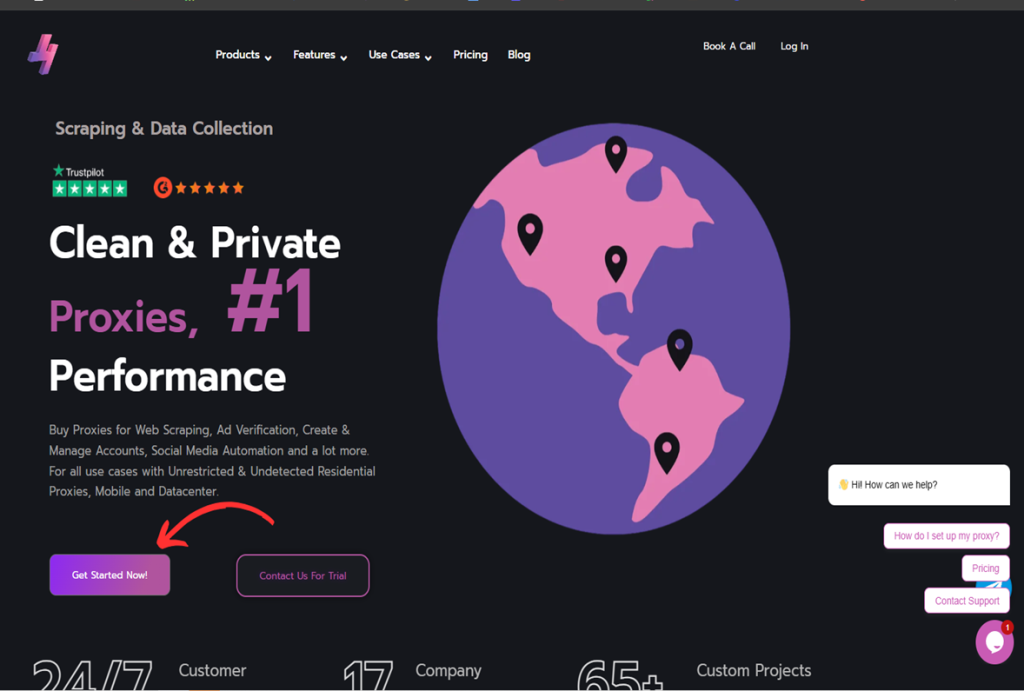
Step 1
Visit the Ziny Proxy website and click on the “Get Started" button.
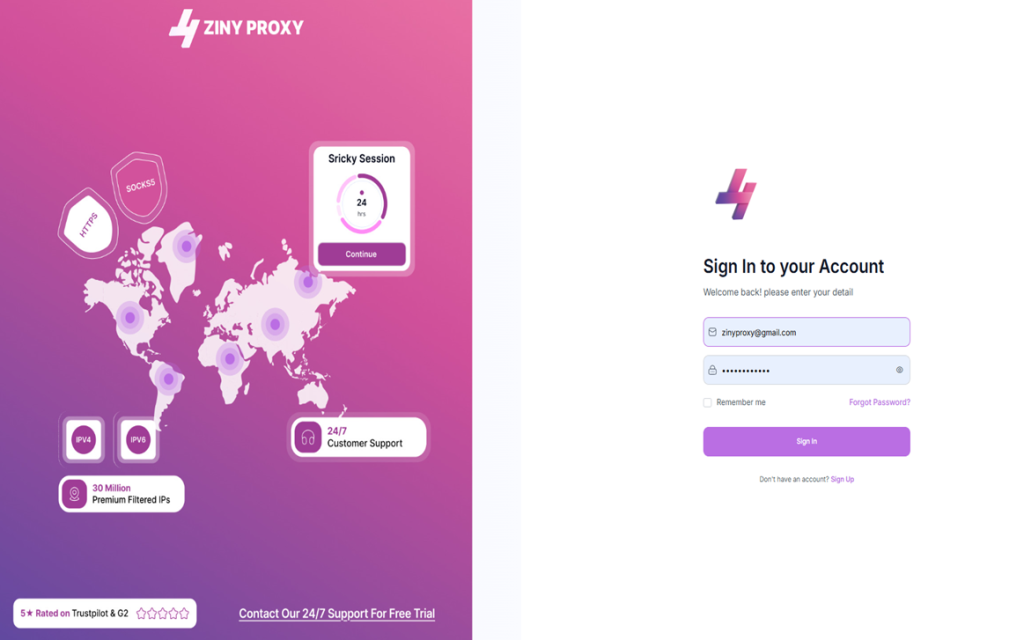
Step 2
Create an Account by Signing Up if this is your first time on this highly recommended proxy provider, if already a customer you can simply Login on your dashboard.
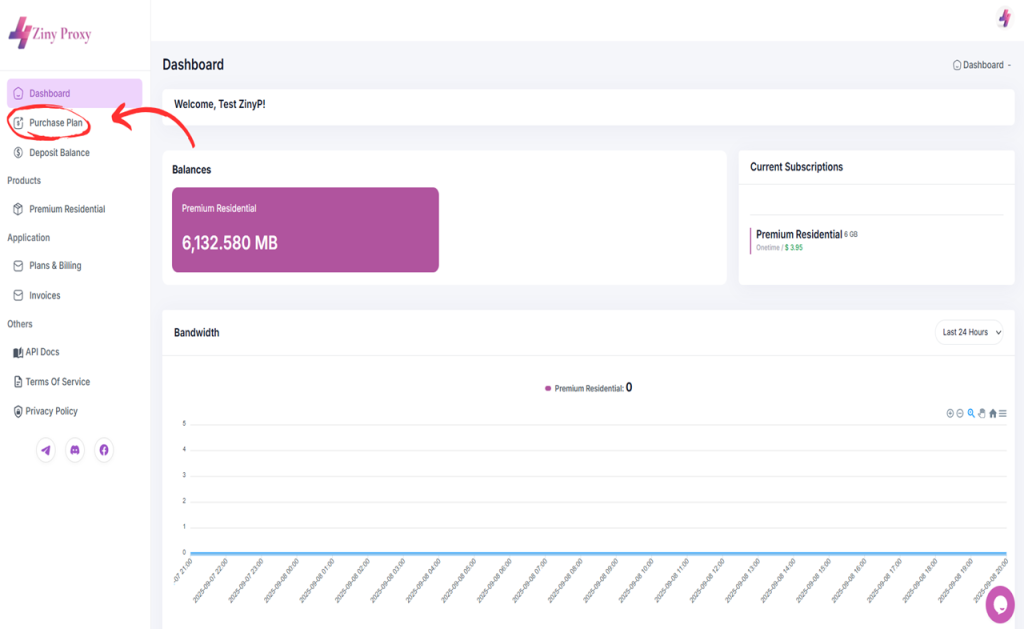
Step 3
Under the “Purchase Plan” Tab to buy a Plan(Support Free Trial)
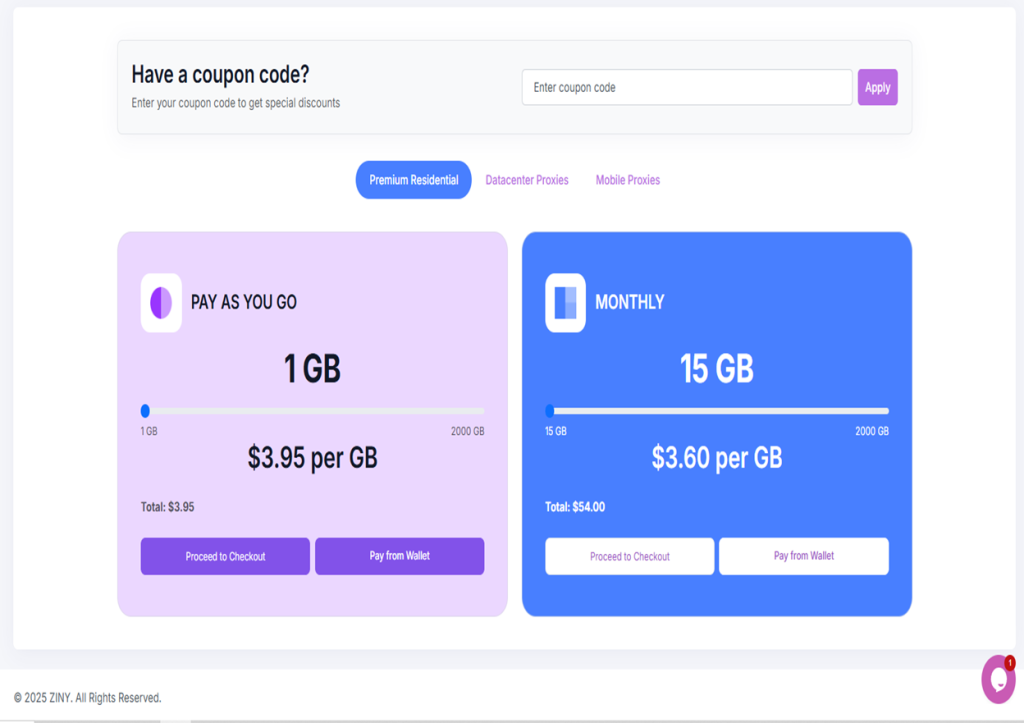
Step 4
Purchase the type of proxies and the amount of usage you are interested in.
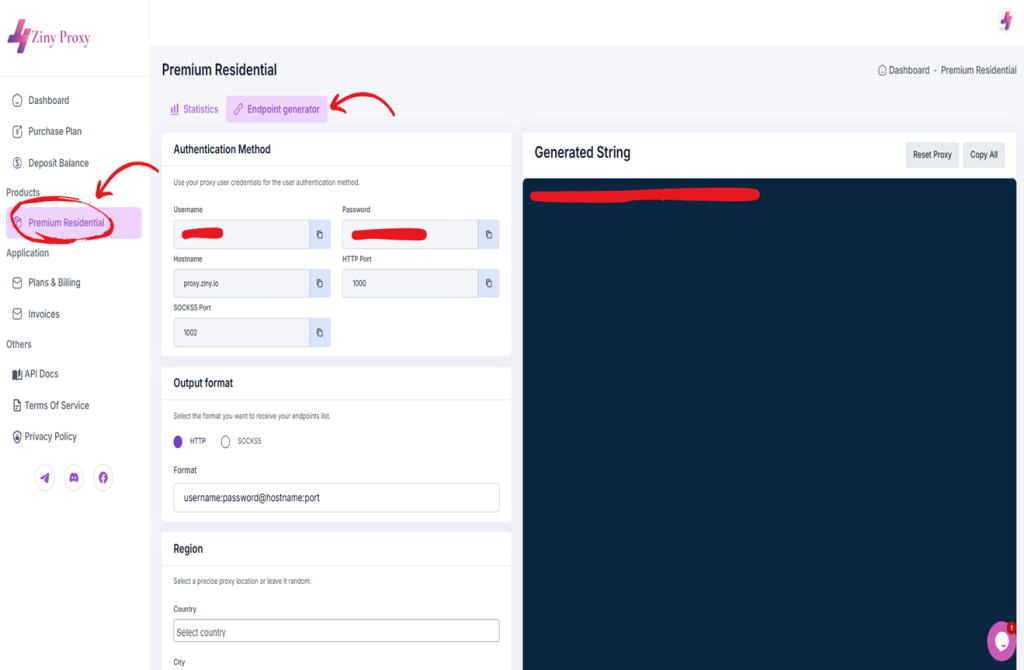
Step 5
Select the Proxy Plan you are purchased under the “Products” tab and access the Endpoint/Proxy Generator and select the specifications you need for your proxy string.
Step 6
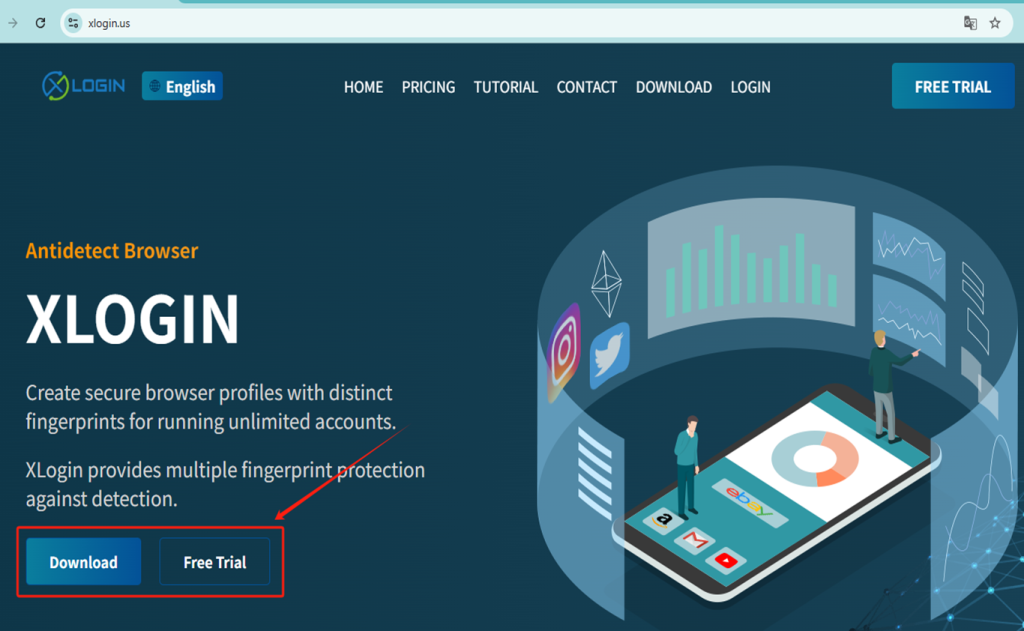
Set Up Your XLogin Browser Profile
- Register and Download to the XLogin. (3-day Free Trial)
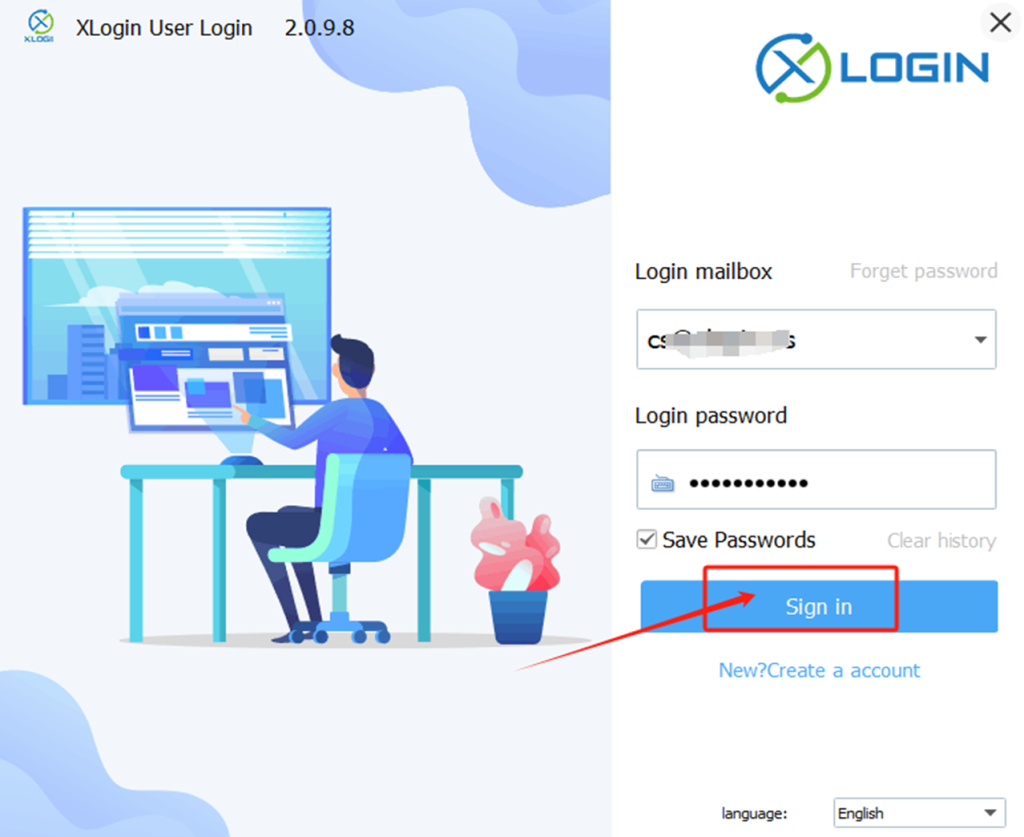
- Launch the XLogin client and Login.
Step 7
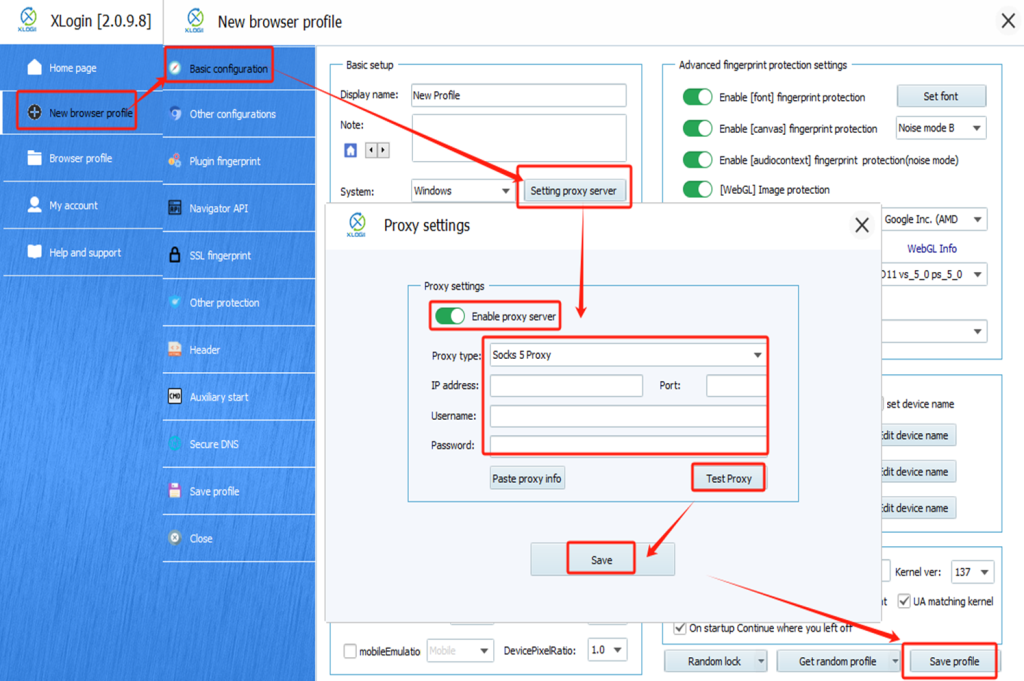
(1) Click “New browser profile” to create the profile.
(2) Fill in a display name and configure the browser fingerprint settings.
(3) Click “Setting proxy server” and enable it.
(4) Copy the Zinyproxy information (IP:Port:Username:Password) and click "Paste proxy info" to paste it.
(5) Click “Test Proxy” to ensure the connection works.
(6) Save the proxy settings, then save the profile.
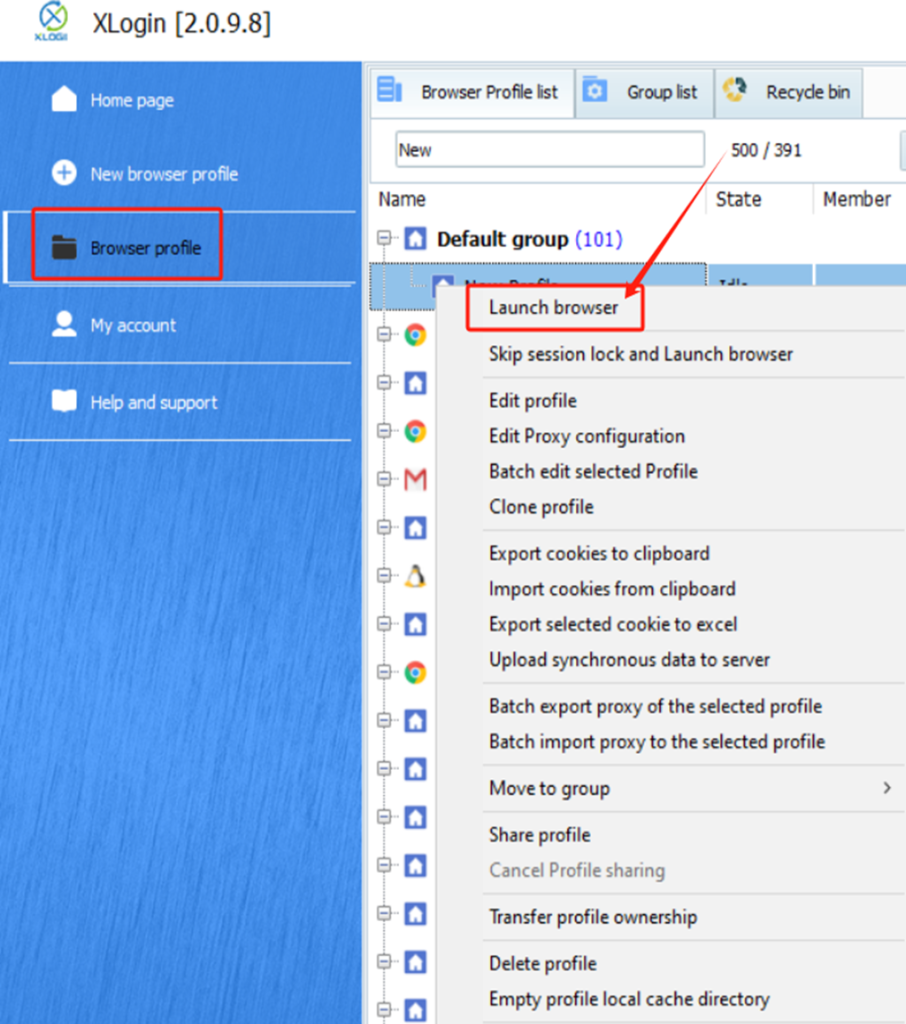
Step 8
Lauch the profile.
Note: XLogin browser does not provide built-in proxy IP services. Users must purchase proxies from third-party providers. Proxy setup tutorials are offered by these third parties and are not affiliated with XLogin. Any illegal or criminal activity conducted through XLogin is strictly prohibited, and users bear full responsibility for any consequences.