Step 1 Sign Up for an Account
Start by creating your Coronium account which will be used to manage your proxies and billing.
1. Visit dashboard of Coronium.io
2. Fill in your name, email, company (optional), and create a password
3. Complete the registration and verify your email address
4. Once verified, you'll be automatically redirected to the dashboard

Step 2 Navigate to Add Proxies
From your dashboard, access the Add Proxies page to begin configuring your proxy purchase.
1. In the left sidebar, locate the "Add New Proxies" section
2. Click on "Add New Proxies" to access the proxy configuration interface
3. You'll be presented with options to configure your proxy type and location
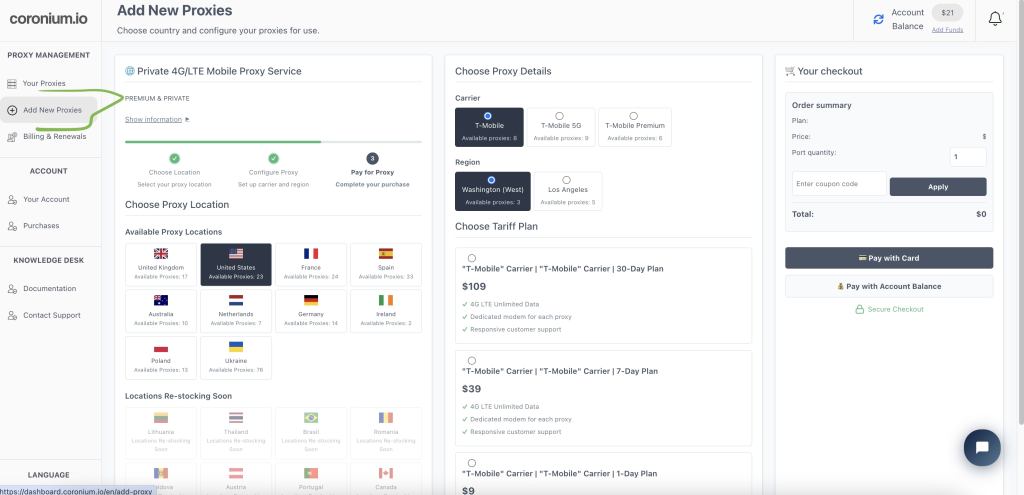
Step 3 Choose Location & Carrier
Select the geographic location and mobile carrier for your proxies based on your specific needs.
1. Select Location:
Choose from 10+ countries including US, UK, Germany, France, etc. Each location offers different availability and pricing.
2. Choose Mobile Carrier:
Select from available carriers like T-Mobile, T-Mobile 5G, or T-Mobile Premium for your chosen location.
3. Select Plan Duration:
Choose between 1-day, 7-day, or 30-day plans based on your project timeline and budget.

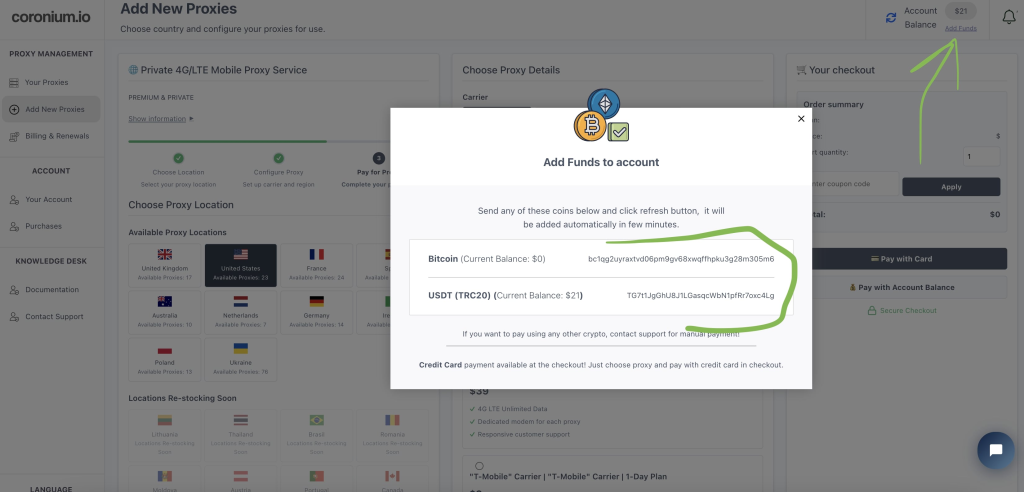
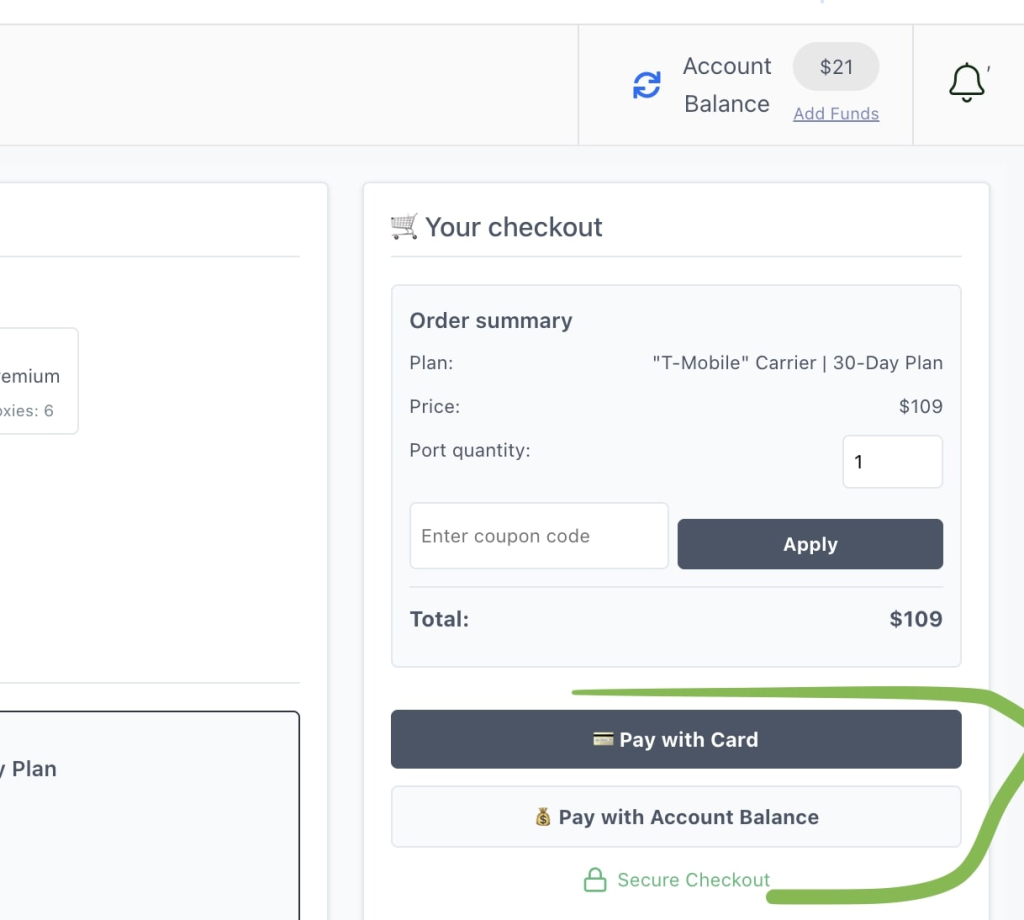
Step 4 Choose Payment Method
Select your preferred payment method to complete your proxy purchase.
Note: For frequent purchases, adding funds to your account balance is recommended as it streamlines future proxy purchases and renewals.
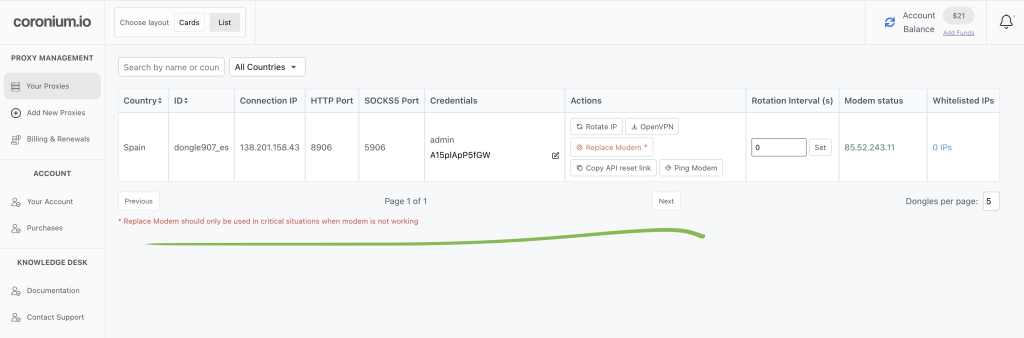
Step 5 Access Your Proxies
After successful payment, you'll be redirected to the Proxies page where you can access your proxy credentials. View your proxy details including IP, ports, and authentication credentials.
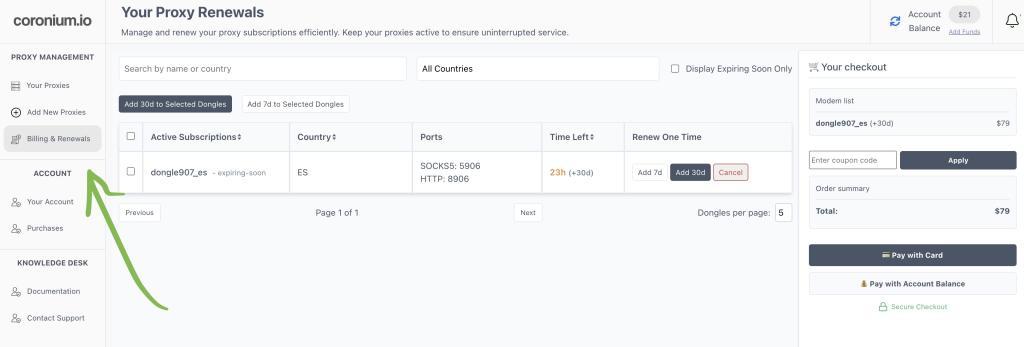
Step 6 Managing Renewals
Ensure continuous service by managing proxy renewals through the Billing & Renewals section.
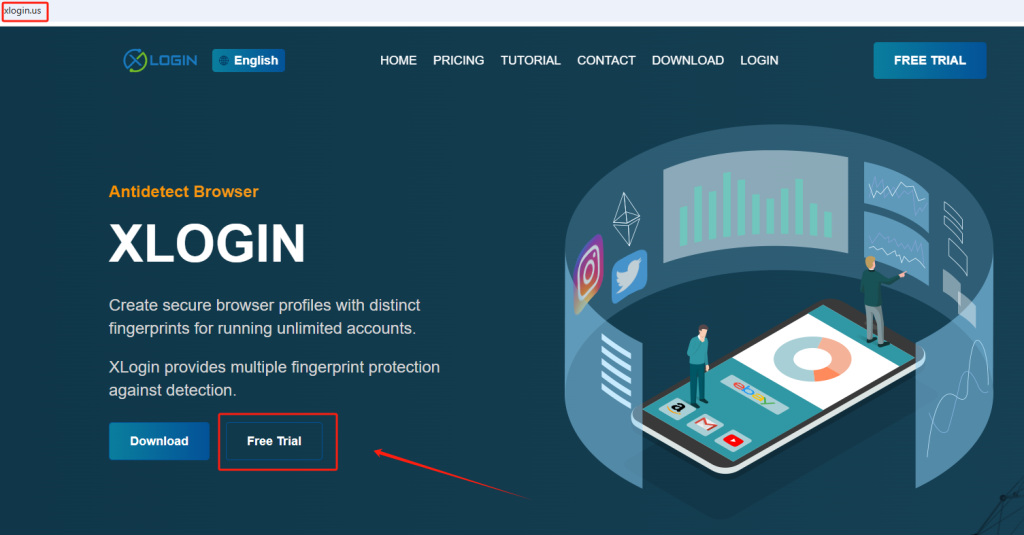
Step 7 Configure XLogin Antidetect Browser with the credentials
1. Download XLogin software and register an account (New users test it for 3-day free).
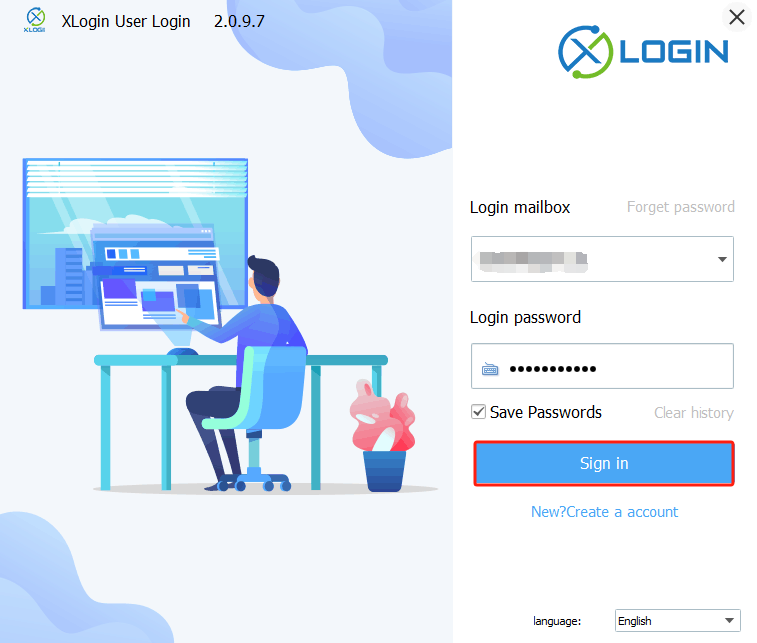
2. Launch XLogin Antidetect Browser. Sign in your account.
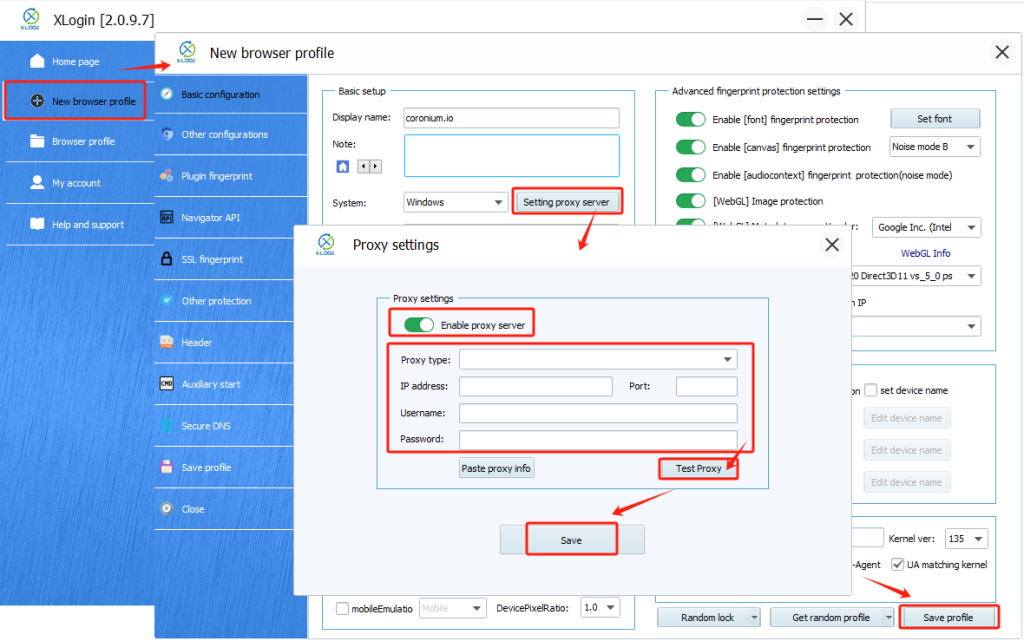
3. Click "New browser profile" or "Create a new profile" .
4. Set the configuration like display name, operating system, browser type, etc.
5. In the profile creation page, find the "Setting proxy server" section. Enable proxy server.
6. Choose your Proxy Type from the dropdown menu (HTTP, HTTPS, SOCKS4 or SOCKS5).
7. Enter the coronium proxy credentials (IP address, port, username, password).
8. Click "Test Proxy" to check if the connection is successful.
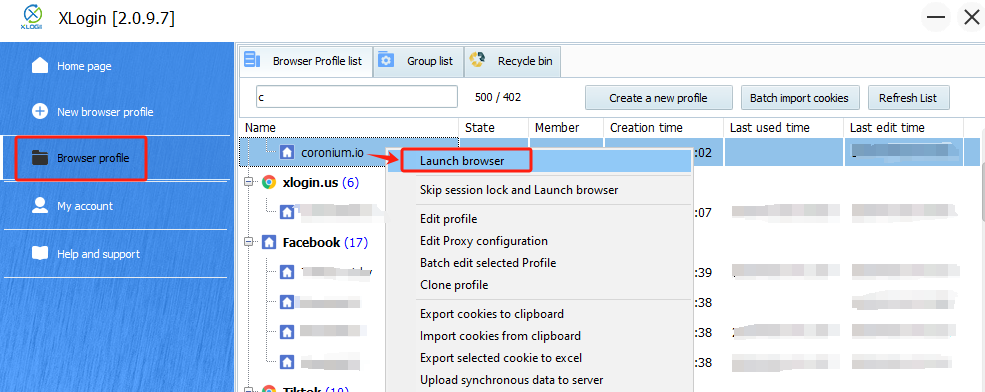
Step 8 Save and Launch the Profile
1. After setting up all required configurations, click "Save profile".
2. Select the browser profile you just created.
3. Click "Launch browser" to open the browser with the configured proxy.
Note: XLogin browser has no proxy IP service, users need to purchase proxy IP from a third party. Third-party platforms provide proxy-related tutorials and are not related to the XLogin. Users are strictly prohibited from using XLogin to engage in any illegal and criminal activities, and users are responsible for the relevant responsibilities caused by using XLogin.