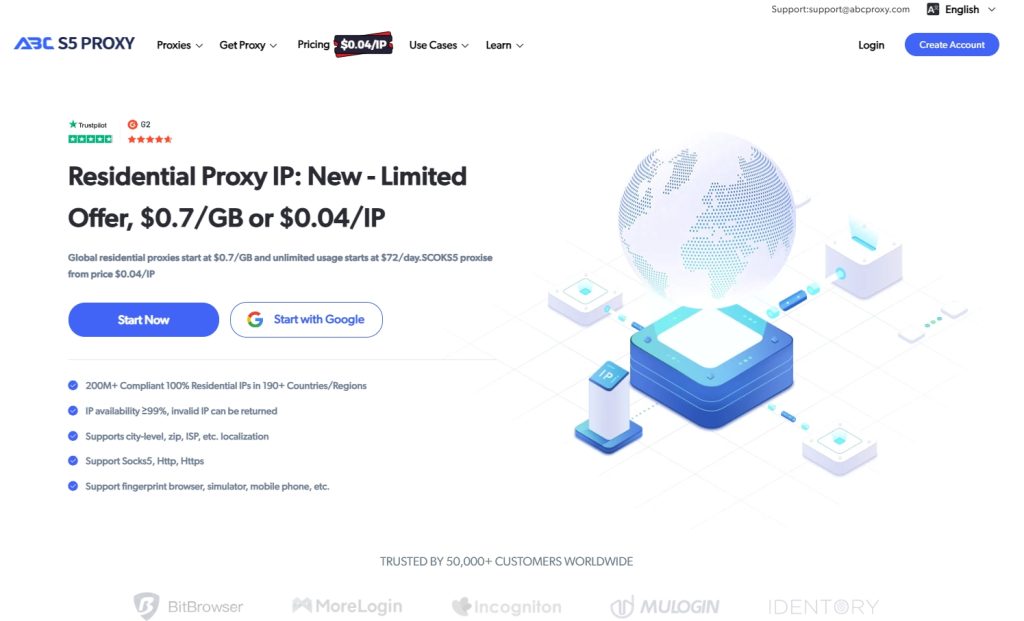
Step 1. Create an account
Open ABCproxy.com, create an account, and log in. You can also choose a Google account to log in.
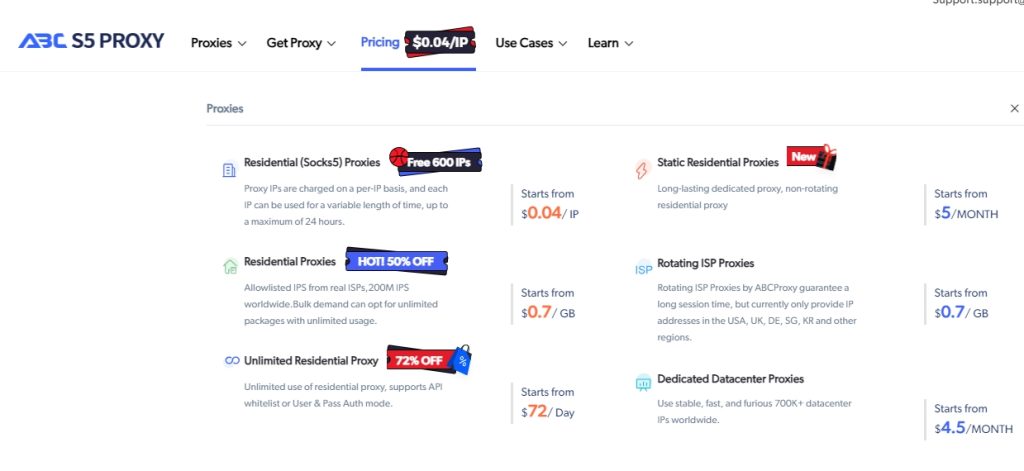
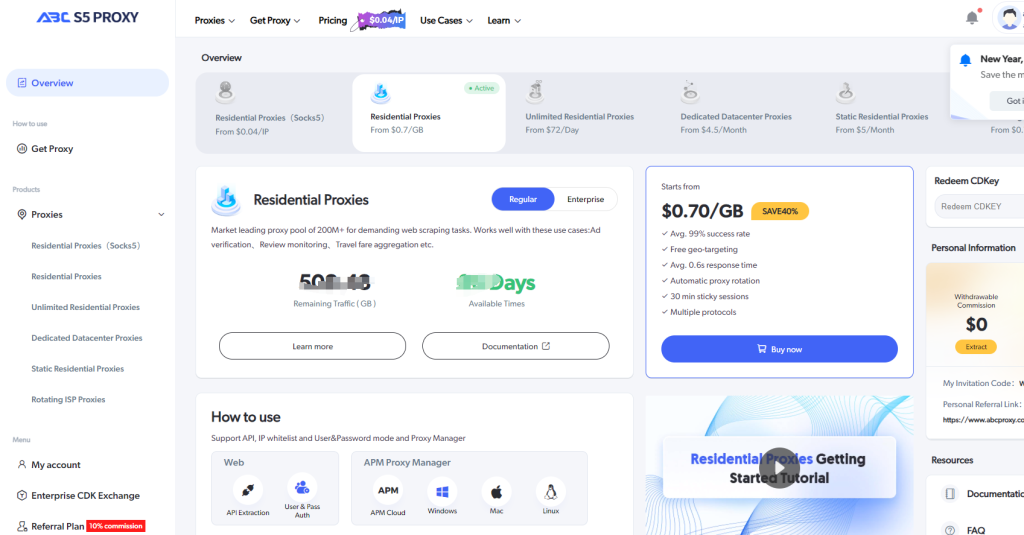
Step 2. Select the proxy plan you want to purchase
After a successful purchase, you will see your balance in the dashboard.
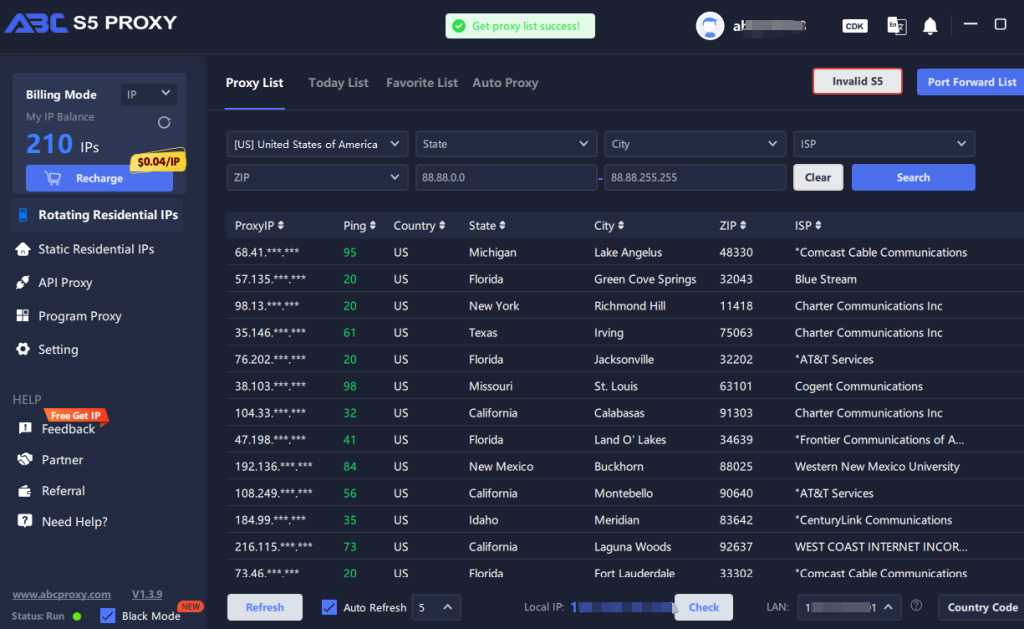
Step 3. About extracting IP usage
1. Via Dashboard API + User & Pass Auth
(1) Add the IP addresses that need to use the proxy to the whitelist list for easy use.
(2) Create sub-account name + password, and set the limit of using G for IP.
(3) Select country/region, proxy server address, IP mode.

2. Via Proxy Manager
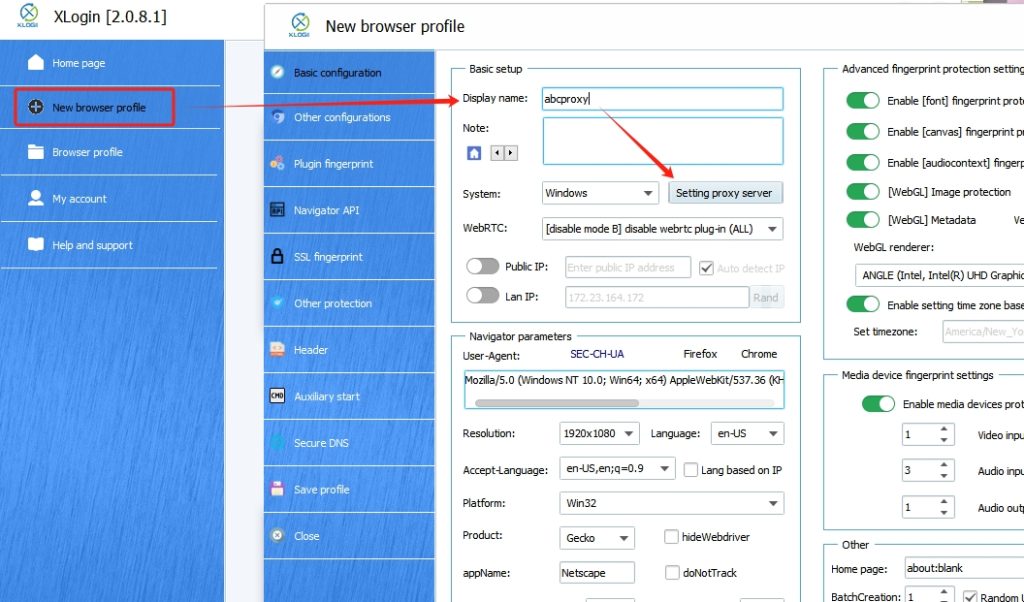
Step 4. XLogin Browser Settings
1. Download and install XLogin Antidetect Browser software. Login or create a new account.
2. Click the "New Browser profile" > find "setting proxy server".
Step 5. Enable Proxy Server
1. In the "proxy settings", Open "Enable Proxy Server", proxy type select "socks5 proxy".
(1) Generate Proxy Information in ABCproxy, Once the proxy is created, Copy the proxy information you generated in ABCproxy and paste it into the appropriate fields in XLogin.
(2) Two examples of IP+Port and User & Pass Auth:
(user:pass@ip:port) / (hostnameport:usename.password)
2. Click "Test Proxy" and save it.
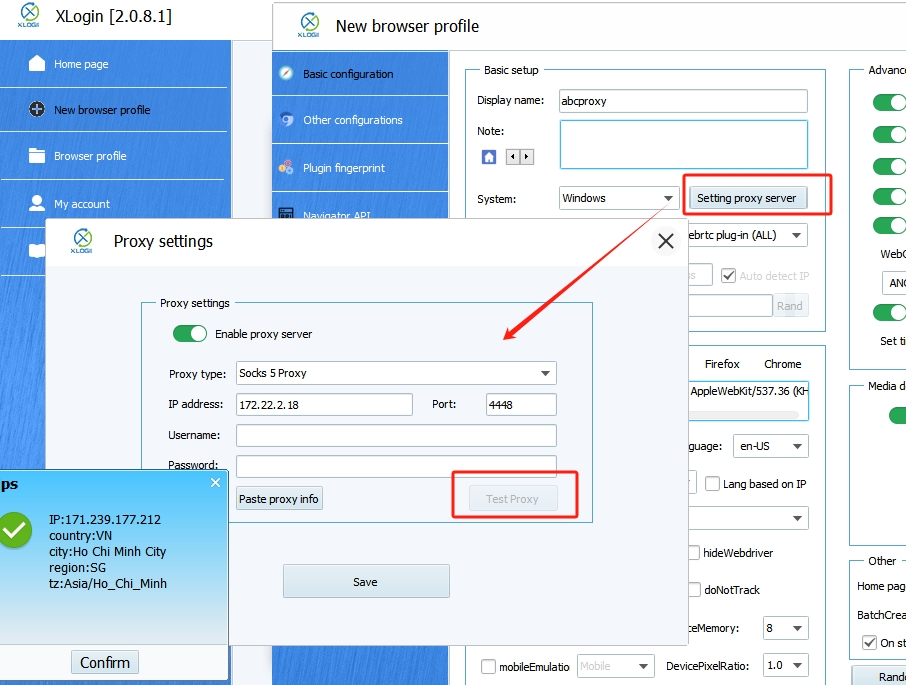
Step 7. After saving, Proxies are successful !
Note: XLogin browser software itself has no proxy IP service, users need to purchase proxy IP from a third party. Proxy-related tutorials are provided by third-party platforms and are not related to the XLogin. Users are strictly prohibited from using XLogin to engage in any illegal and criminal activities, and users are responsible for the relevant responsibilities caused by using XLogin.